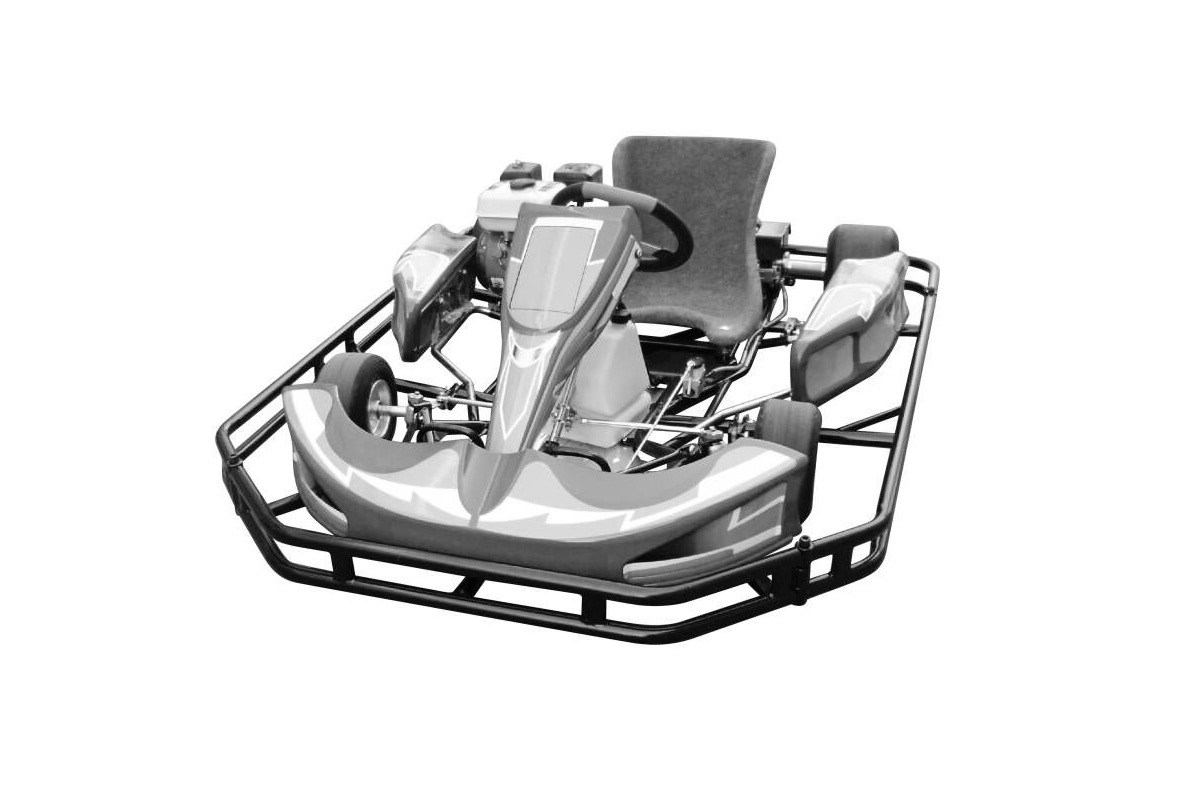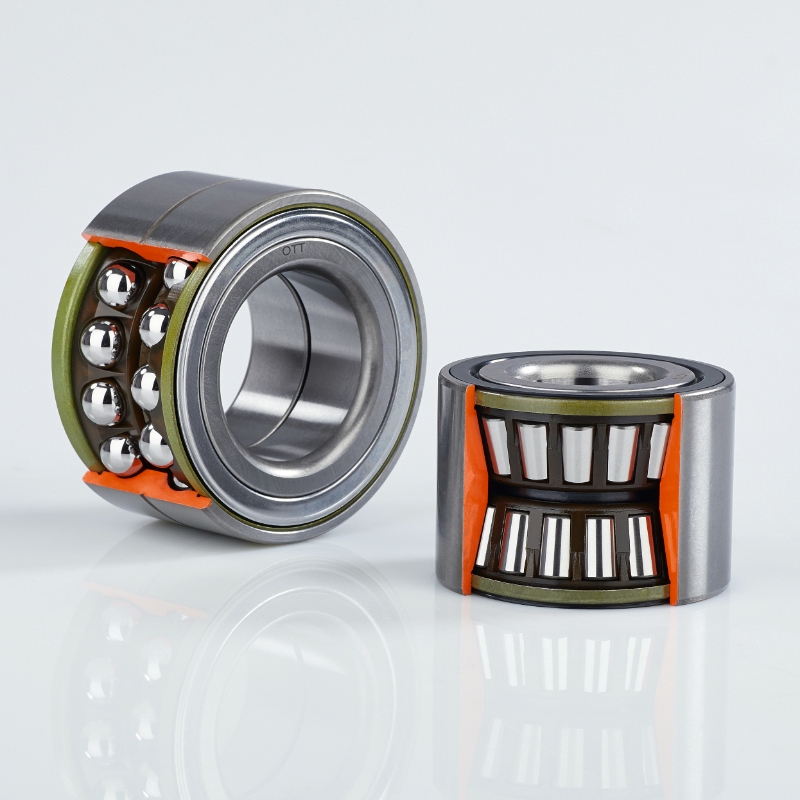
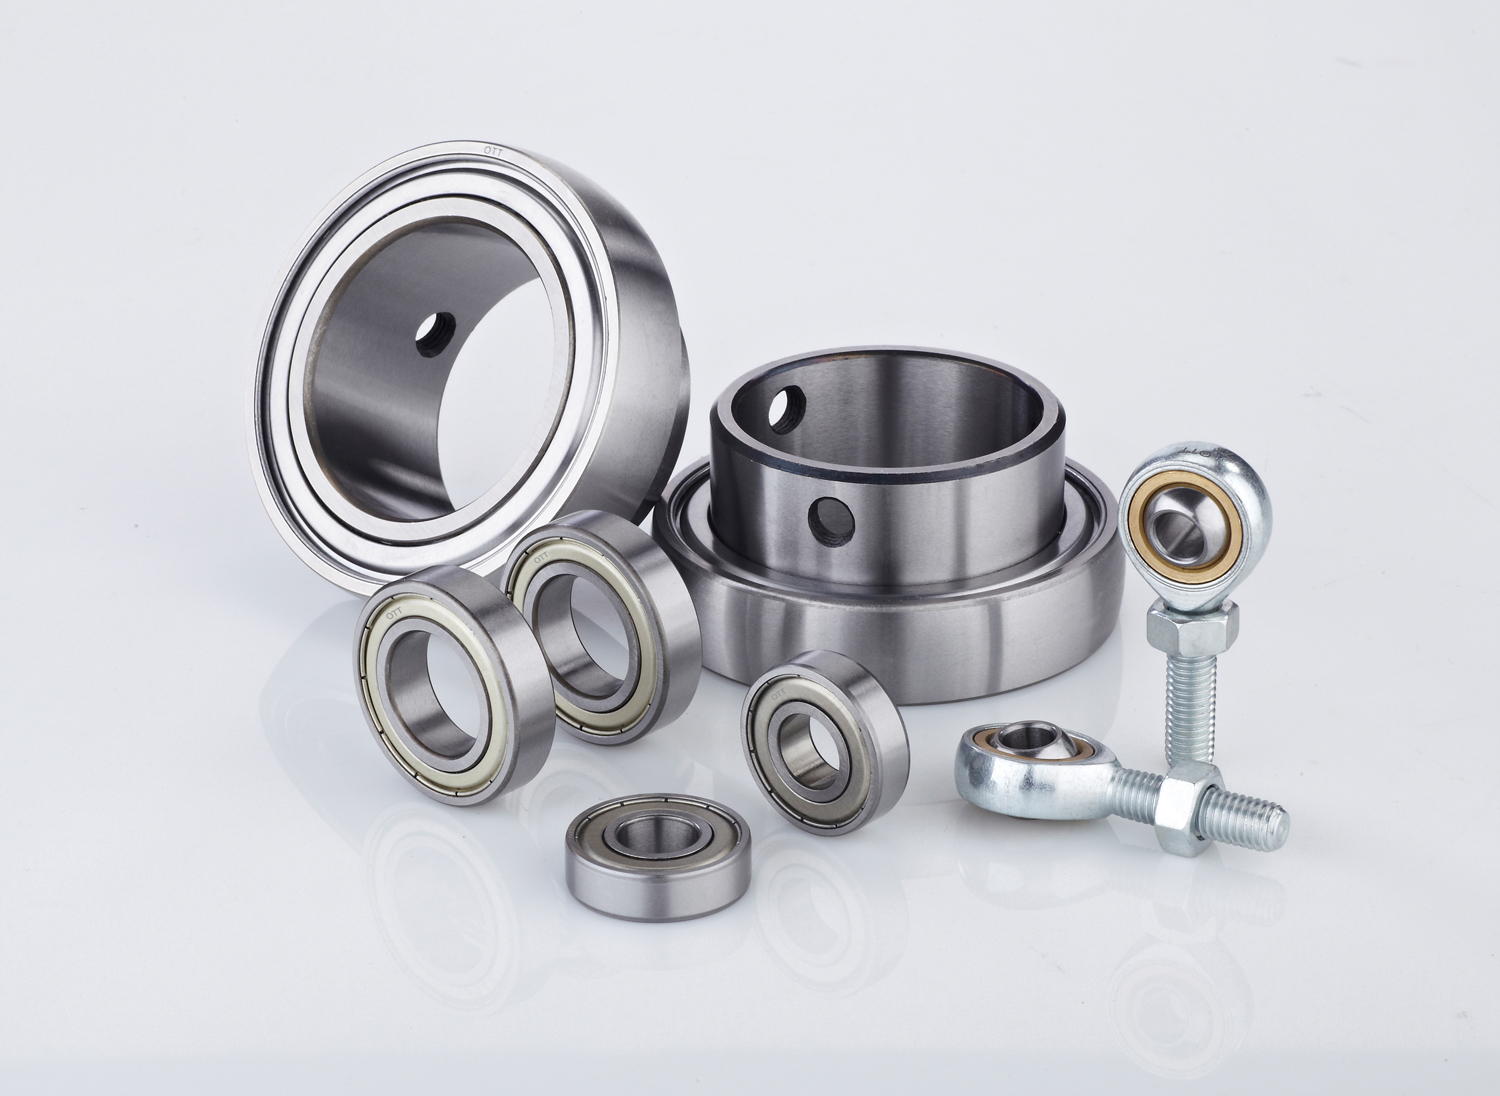
Go-kart bearings are the difference between a kart that rolls freely and one that drags. Whether you are maintaining a racing kart between events or keeping a rental fleet running, knowing how to replace bearings correctly saves money and prevents on-track failures.
This guide covers the complete replacement procedure for all three bearing positions on a go-kart — front wheels, rear axle, and steering column — with the bearing sizes for each position, the tools you need, and the mistakes that cause premature bearing failure.
Where Are the Bearings on a Go-Kart?
A typical go-kart has 6-8 bearings across three positions:
Front wheels (4 bearings): Two bearings per front wheel hub, pressed into the hub or rim assembly. These carry the front-end weight and spin at the highest RPM of any bearing on the kart because front wheels have the smallest diameter.
Rear axle (2-3 bearings): Two main axle bearings support the rear axle in the frame, plus an optional third bearing (center bearing or "free" bearing) used for chassis tuning. These handle the highest loads because all engine torque passes through the rear axle.
Steering column (1-2 bearings): One or two bearings in the steering shaft support. These see relatively low loads but must be smooth — any roughness is felt directly through the steering wheel.
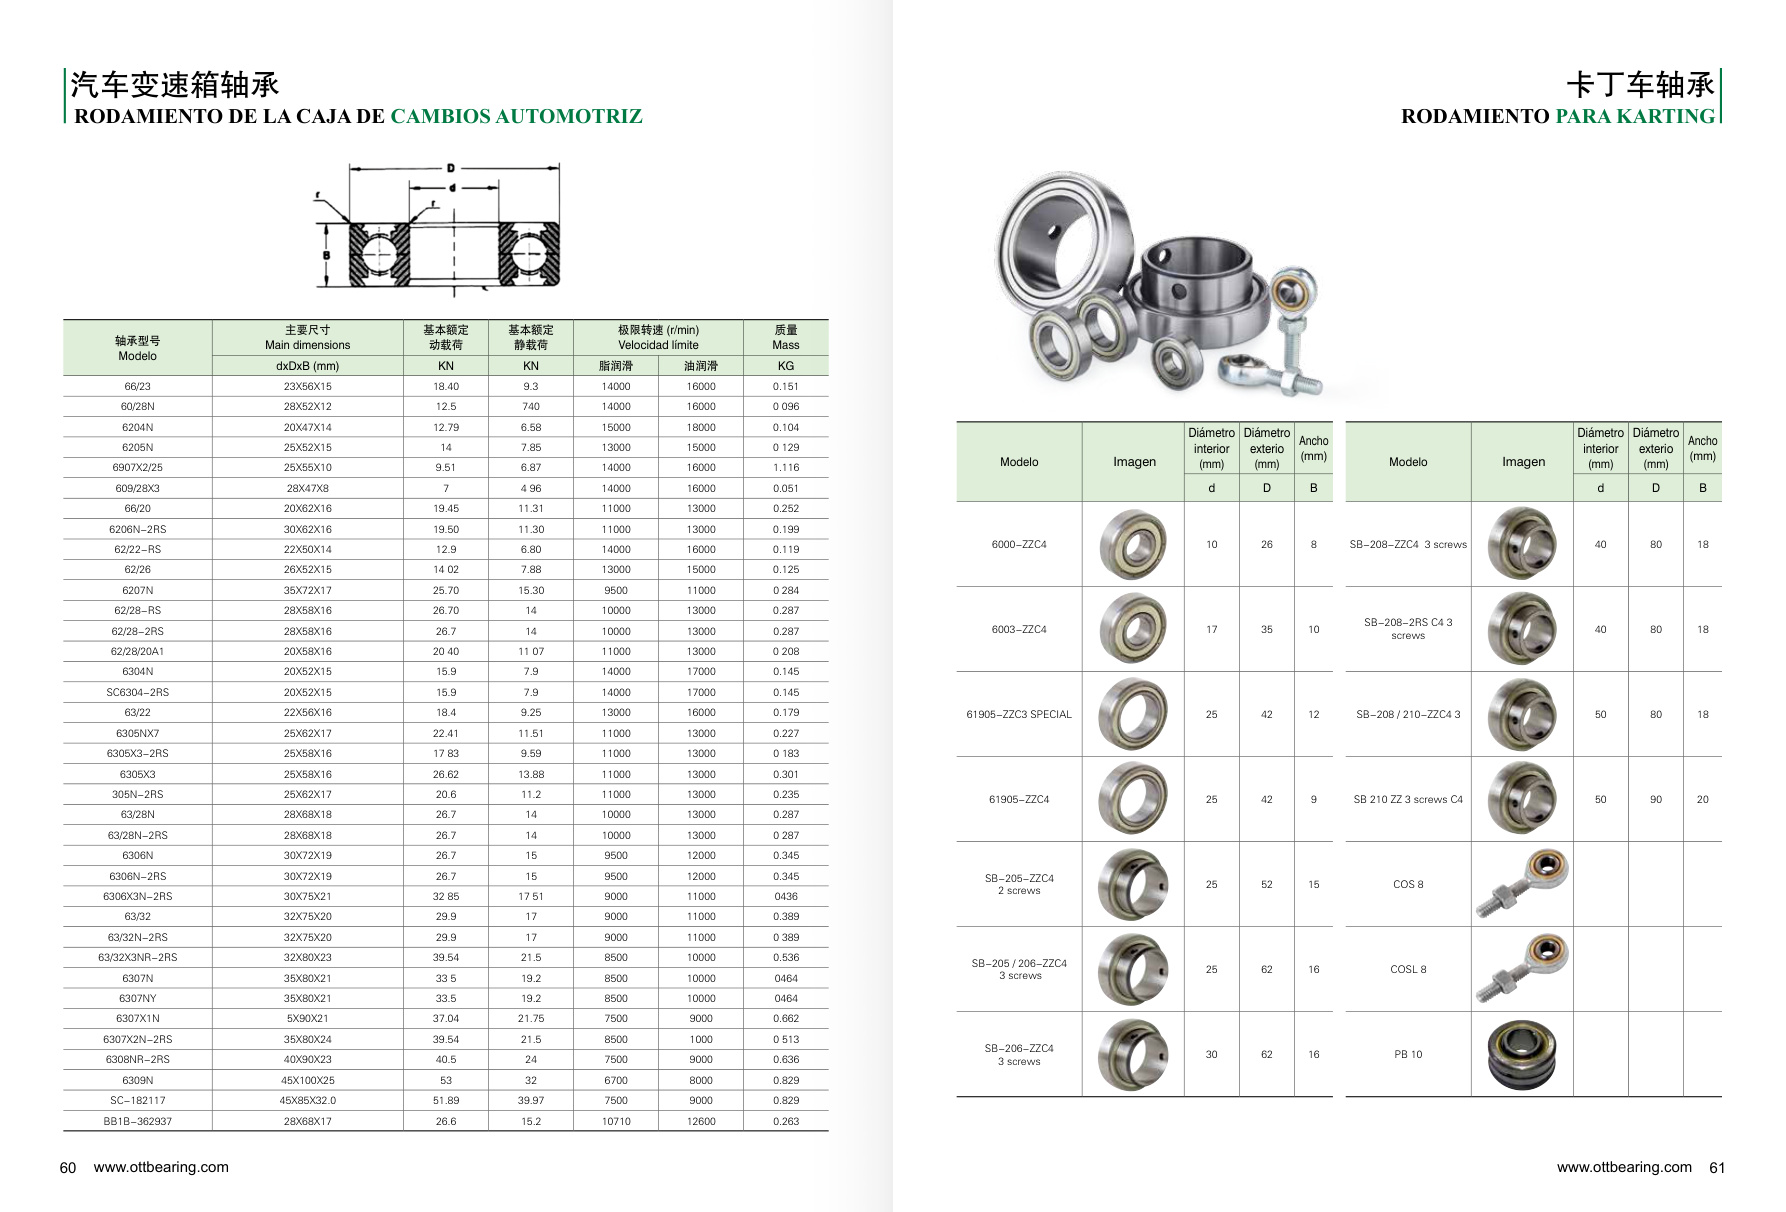
Go-Kart Bearing Size Chart by Position
Before ordering bearings, identify which ones you need. This table covers the most common sizes for European sprint karts (CRG, Tony Kart, OTK, Birel) and American yard/rental karts.
| Position | Kart Type | Bearing Model | Dimensions (d x D x B) | OTT Model |
|---|---|---|---|---|
| Front Wheel | Sprint / Racing | 6205 | 25 x 52 x 15 mm | 6205-ZZ / Open |
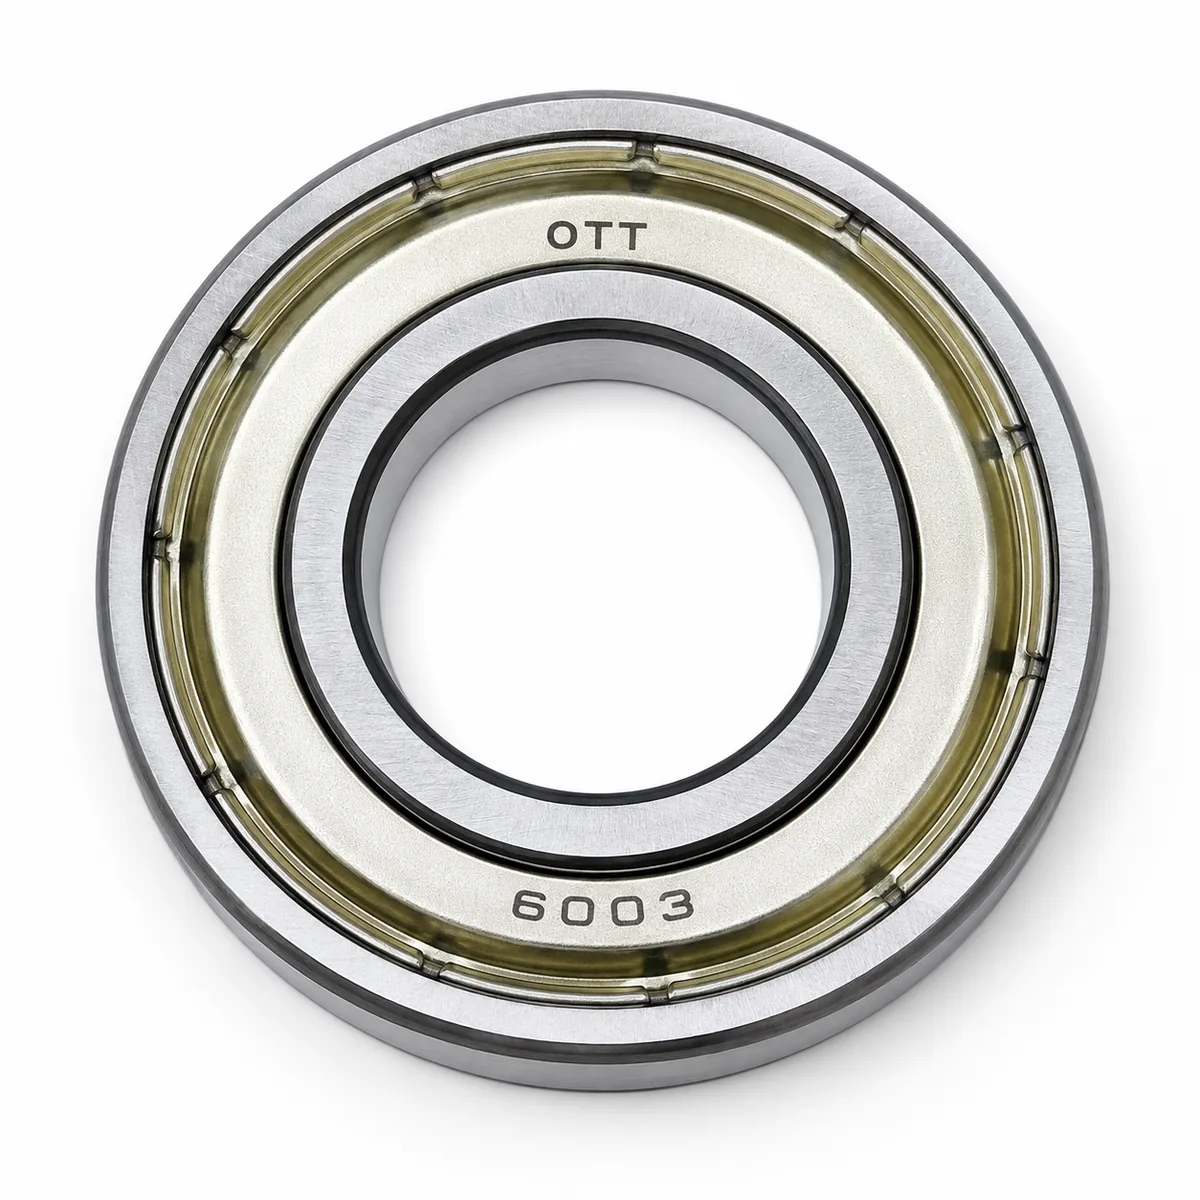
| Front Wheel | Yard / Rental (US) | 6003 / R10 | 17 x 35 x 10 mm | 6003-ZZ |
| Rear Axle | 30mm axle | 6206 | 30 x 62 x 16 mm | 6206-ZZ |
| Rear Axle | 40mm axle | 6208 | 40 x 80 x 18 mm | 6208-ZZ |
| Rear Axle | 50mm axle | 6210 | 50 x 90 x 20 mm | 6210-ZZ |
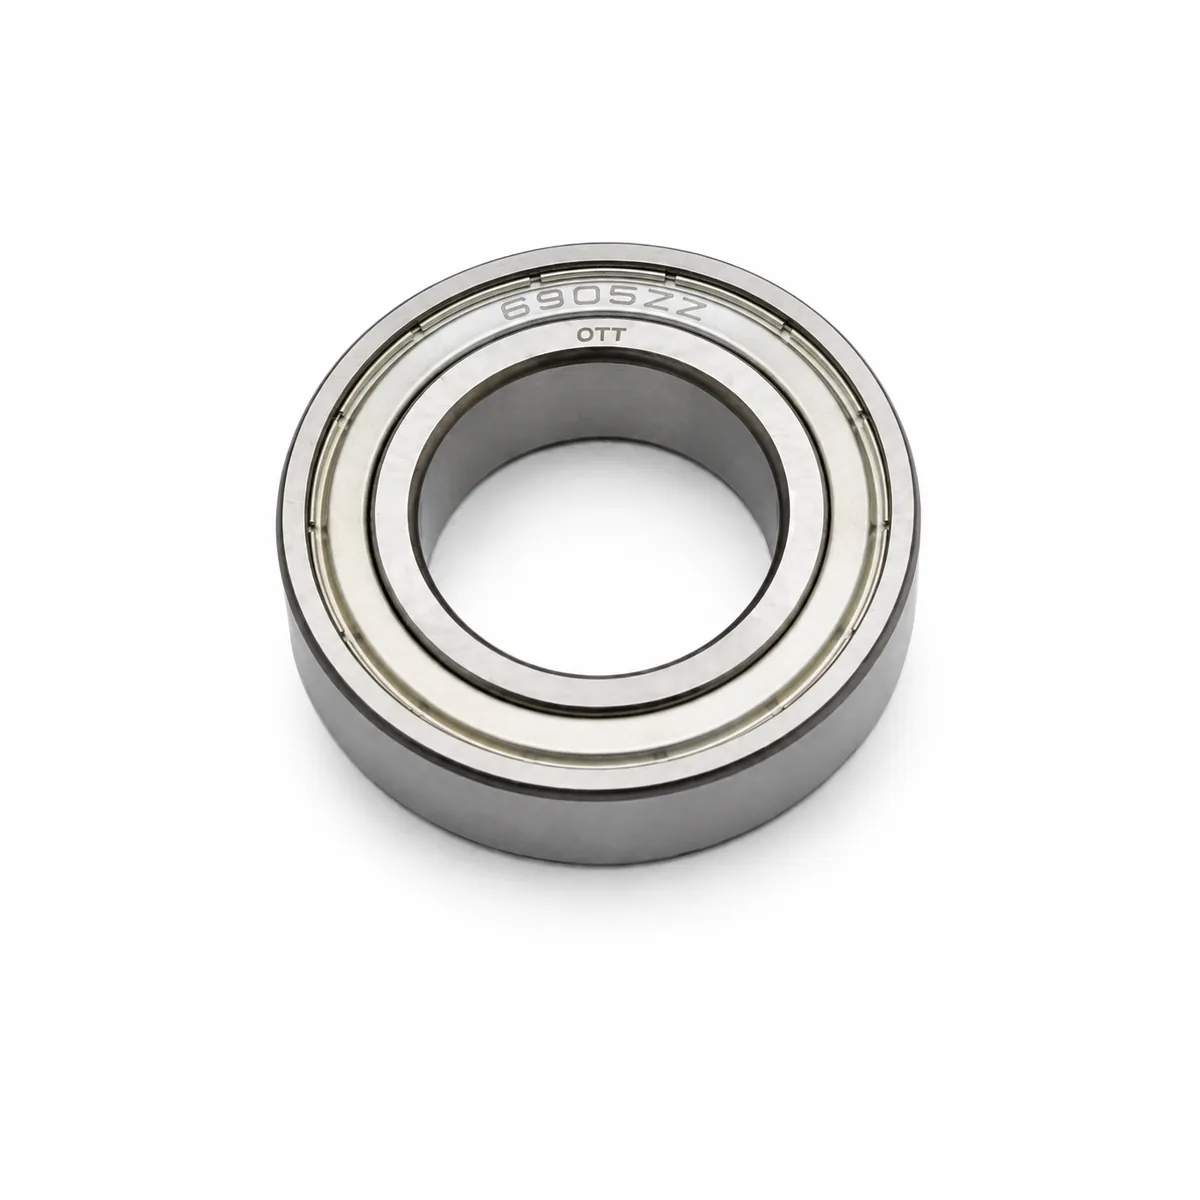
| Steering Column | All karts | 6905 | 25 x 42 x 9 mm | 6905-ZZ |
| Engine Crankcase | Rotax, X30, KA100 | 6206 | 30 x 62 x 16 mm | 6206-2RS |
Important: Always measure your old bearing with calipers before ordering. Even within the same kart brand, bearing sizes can vary between model years. The three critical dimensions are bore (d), outer diameter (D), and width (B).
Browse the complete OTT go-kart bearing range: Go-Kart Bearings
Tools You Will Need
Most go-kart bearing replacements require minimal specialized tools:
Essential: Socket set (10mm, 13mm for cassette bolts; 8mm for set screws), rubber mallet or dead-blow hammer, bearing installation socket or tube (matching the bearing outer diameter), snap ring pliers (internal type for hub-mounted bearings), and an Allen key set (for axle set screws and bearing cassette clamps).
Helpful but optional: Arbor press (for press-fit bearings in one-piece housings), bearing puller (for removing stubborn front wheel bearings), calipers (for verifying bearing dimensions), and cleaning solvent with a rag.
Front Wheel Bearing Replacement
Front wheel bearings fail more often than rear bearings on rental karts because they spin faster and are more exposed to water and debris. On racing karts, front bearings are inspected and often replaced before major events as preventive maintenance.
Step 1: Remove the Front Wheel
Lift the kart so the front wheels are off the ground. Remove the axle nut or spindle bolt (typically 17mm or 19mm). Pull the wheel off the spindle. Note the order of any spacers and washers — photograph them before disassembly.
Step 2: Remove the Old Bearings
Hub-mounted bearings (most racing karts): The bearings are pressed into the aluminum wheel hub. Remove the internal snap ring (if present) with snap ring pliers, then tap the bearing out from the opposite side using a rod or drift pin that contacts the inner race. Drive evenly to avoid cocking the bearing in the bore.
Rim-mounted bearings (American yard karts): The bearings sit directly in the wheel rim. The same removal technique applies — support the rim and tap the bearing out from the back side.
Step 3: Clean and Inspect the Hub Bore
Wipe out the hub bore with a clean rag. Check for scoring, corrosion, or damage. Light surface rust can be cleaned with fine emery cloth. Deep scoring means the bearing was spinning in the bore (creep) — the hub may need replacing.
Step 4: Install the New Bearings
This is where most people damage new bearings. Press on the outer race only. Use a socket or tube that fits snugly over the outer ring and tap it squarely into the bore. Never hit the inner race, the balls, or the shields — this creates flat spots on the raceways before the bearing even turns.
Start the bearing by hand to ensure it enters straight. Tap with the mallet until the bearing seats flush against the shoulder inside the hub. Install the spacer between the two bearings, then install the second bearing from the other side.
Step 5: Reinstall and Spin Test
Slide the hub back onto the spindle with spacers and washers in the original order. Tighten the spindle nut until there is zero side play, then back off slightly. Do not overtighten — this clamps the inner races together, preloading the bearings and causing friction.
Spin test: A properly installed front wheel should spin for at least 8-12 seconds with a good hand spin before stopping. If it stops in 2-3 seconds, the nut is too tight or the bearing is defective.
Rear Axle Bearing Replacement
Rear axle bearings support the driven axle and handle all engine torque. They are typically mounted in bearing cassettes (pillow block housings) that bolt to the chassis frame rails.
Step 1: Remove the Rear Axle
Loosen the chain or belt. Remove the axle retaining collar or set screws from both bearing cassettes. Loosen the cassette clamp bolts (usually 13mm) so the cassettes open up. Slide the axle out, supporting it and the rear wheels as you pull.
Step 2: Remove the Old Bearings
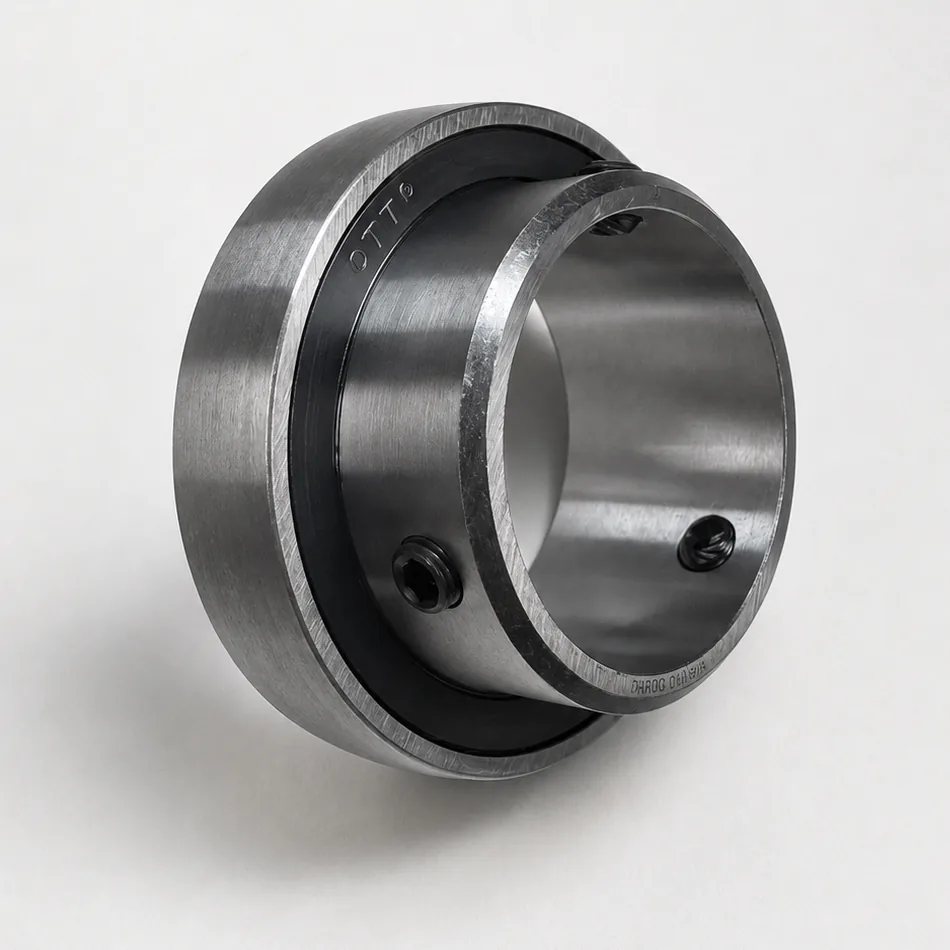
Cassette-style (most racing karts): The bearing sits in a split housing clamped around the axle. Open the cassette, and the bearing slides out — the easiest type to replace.
Press-fit in one-piece housings: Some karts have bearings pressed into a solid housing. These require an arbor press or bearing puller. Drive from the back side using a socket on the inner race.
Step 3: Install New Axle Bearings and Align
For cassette-style housings, place the new bearing into the cassette, slide the axle through, and tighten the clamp bolts evenly.
Critical for racing karts: The axle must slide through the bearings freely. If the axle binds when you tighten the cassettes, the bearing alignment is off. Loosen, realign the chassis, and re-tighten. Misaligned axle bearings are the number one cause of rear-end drag and lost lap time.
Step 4: Set the Third Bearing (Racing Karts)
Many racing karts have a third center bearing used as a chassis tuning tool. Running it "tight" (locked to the axle with a set screw and firmly clamped) stiffens the rear chassis for low-grip conditions. Running it "loose" (no set screw, housing loosened) allows more axle flex for high-grip tracks.
Steering Column Bearing Replacement
Steering bearings fail less often but their condition directly affects steering feel. A rough steering bearing costs driver feedback and consistency.
Remove the steering wheel and any column clamps. The steering shaft slides out, and the bearings (6905 or similar) sit at the top and bottom of the column tube. Tap the old bearings out, clean the bore, and tap the new ones in. Verify smooth, play-free steering rotation before driving.
Sealed vs Shielded vs Open: Which Configuration?
| Config | Friction | Protection | Service Life | Best For |
|---|---|---|---|---|
| Open | Lowest | None | 10-15 race hrs | National-level racing (dry) |
| ZZ (Shielded) | Low | Moderate | 20-30 race hrs | Club racing, sprint karts |
| 2RS (Sealed) | Moderate | High | 200-500 op hrs | Rental karts, outdoor, rain |
For most kart racers at the club level, shielded (ZZ) bearings are the right choice — nearly as free-spinning as open bearings but with enough contamination protection to double the service life.
5 Mistakes That Kill Go-Kart Bearings
1. Over-torquing the front spindle nut. If the nut is too tight, it clamps the inner races together through the spacer, preloading the bearings and causing friction and heat. The wheel should spin freely for at least 8 seconds after a hand spin.
2. Pressing on the inner race during installation. Hitting the inner race drives installation force through the balls, creating microscopic flat spots (brinelling). Always press on the outer race only.
3. Mixing bearing brands in a pair. Front wheel hubs use two bearings that must be dimensionally identical. A precision P6 bearing paired with a generic one creates uneven loading — the looser bearing fails first.
4. Ignoring axle alignment. If the two rear bearing cassettes are not aligned, the axle binds. This costs lap time and kills bearings. With the chain removed, verify the axle spins freely after installing new bearings.
5. Using sealed bearings in racing and never inspecting them. Sealed does not mean maintenance-free forever. The grease still degrades from heat cycling. Inspect sealed racing kart bearings every 50 hours — spin by hand and feel for roughness.
What Makes a Quality Kart Bearing?
OTT supplies go-kart bearings to kart component distributors and racing teams. Here is what separates a quality bearing from a cheap one:
Steel quality: OTT kart bearings use GCr15 bearing steel (AISI 52100) with oxygen content below 10 ppm. Fewer inclusions mean fewer fatigue crack initiation points. Cheap bearings use recycled steel — smooth when new, rough within a few race weekends.
Precision grade: OTT grinds kart bearings to P6 tolerance (ABEC-3), giving tighter control on bore, OD, and raceway roundness. P6 bearings spin more freely and last longer than standard P0 grade.
Grease fill: OTT fills kart bearings to 25-30% of free space — enough to protect raceways without creating drag. Over-filled bearings (50%+) run warmer and slower.
Related Resources
- Go-Kart Bearing Guide: Sizes, Types & Selection — complete bearing selection guide for all kart types
- Go-Kart Bearing Sizes Guide — quick size reference chart
- Go-Kart Bearings Product Page — browse OTT kart bearings with specs and pricing
- Karting Applications — all kart bearing positions covered
- About OTT Bearing — factory certifications, steel sourcing, and quality control