The serpentine belt drives almost every accessory on your engine — the alternator, power steering pump, air conditioning compressor, and water pump all depend on it. And what keeps that belt running at the right tension? The tensioner pulley.
When the bearing inside the tensioner pulley starts to fail, the symptoms can range from an annoying squeal to a complete belt failure on the road. Here's what you need to know.
What Is a Tensioner Pulley?
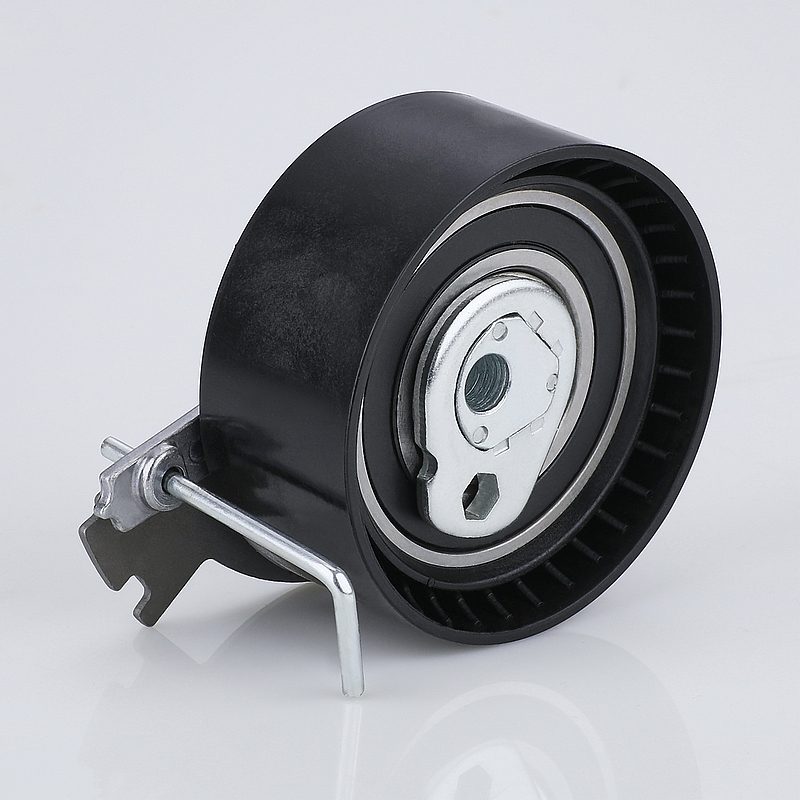
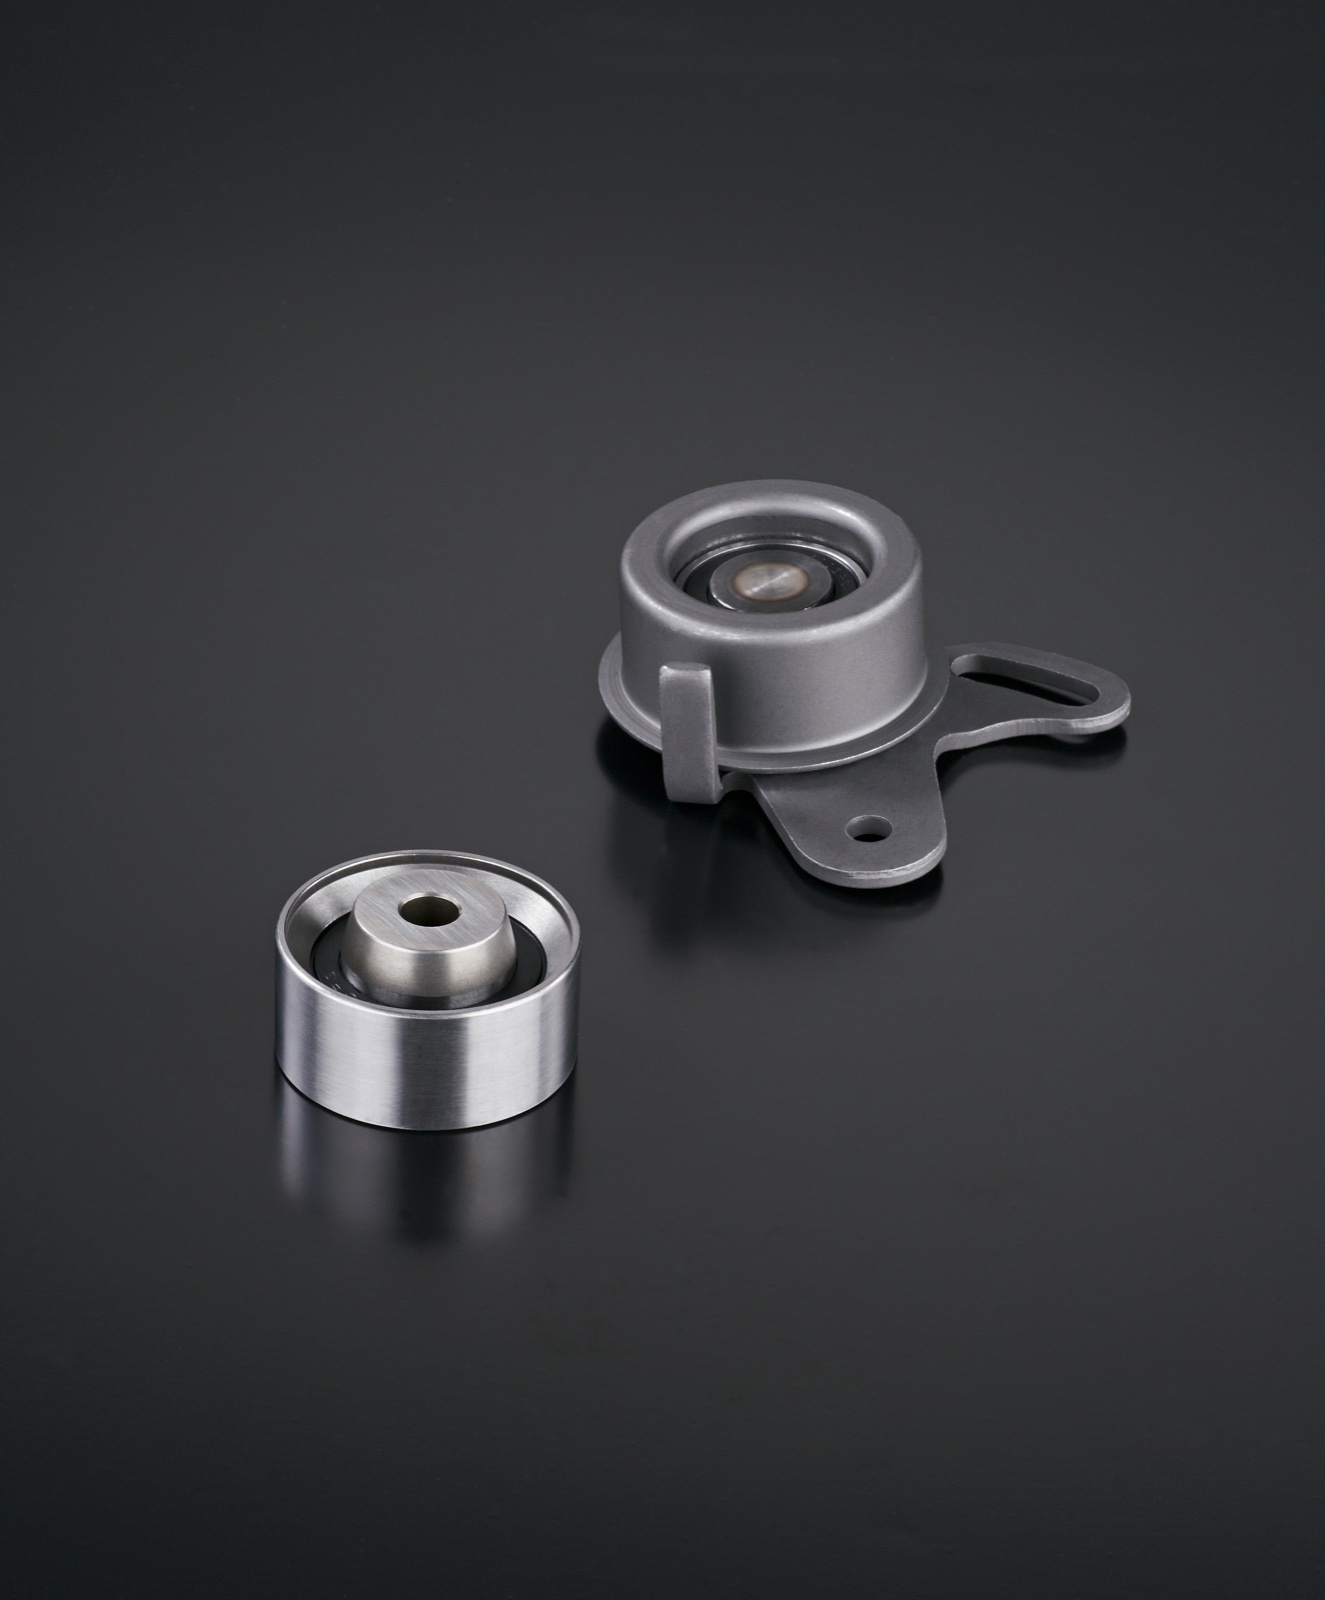
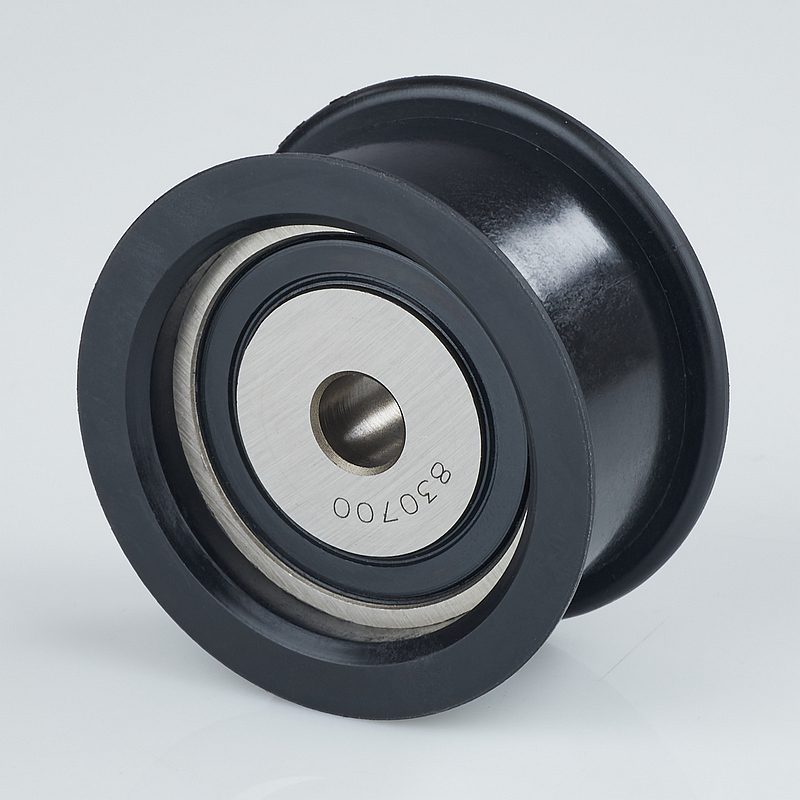
The tensioner pulley is the rotating wheel mounted on the belt tensioner assembly. It contacts the back (smooth) side of the serpentine belt and maintains the correct tension as the belt stretches over time and as load varies during engine operation.
Inside the pulley is a bearing — typically a deep groove ball bearing — that allows the pulley to spin smoothly while the tensioner arm presses against the belt. This bearing operates at high speeds (mirroring engine RPM), under constant radial load from belt tension, and in the heat-intensive environment of the engine bay.
Types of Tensioner Assemblies
Spring-loaded mechanical tensioner: The most common design. A coil spring inside the tensioner arm pushes the pulley against the belt with calibrated tension. As the belt stretches, the spring automatically takes up the slack. No adjustment needed — when the spring weakens or the pulley bearing fails, the assembly is replaced.
Hydraulic tensioner: Uses engine oil pressure or a separate hydraulic cylinder to maintain tension. More complex, more expensive to replace, but provides smoother tension control in high-load applications.
Manual tensioner: Older design with a fixed pivot point and a locking bolt. Belt tension must be manually set during installation. Rare on modern passenger vehicles.
Signs of a Failing Tensioner Pulley
Squealing or Chirping Noise
The most common symptom. A worn tensioner pulley bearing produces noise that:
- Often starts as a chirp at idle and becomes a squeal at higher RPMs
- May change in pitch with engine load (turning on the A/C, switching on headlights)
- Can be intermittent initially, then constant as wear progresses
To distinguish tensioner noise from belt noise: a slipping belt produces a squeal that often goes away when the engine is under light load. A failing bearing produces noise regardless of load.
Grinding or Rumbling
More severe bearing wear produces a grinding or rumbling noise — similar to a worn wheel bearing but located in the engine bay. At this stage, the bearing is significantly damaged and replacement is urgent.
Belt Wear or Damage
A misaligned or wobbly tensioner pulley causes the belt to ride incorrectly across the pulley face, leading to:
- Uneven belt wear (one edge wearing faster)
- Belt cracking along the edge
- Belt glazing from misalignment
If you notice unusual belt wear patterns, inspect the tensioner pulley for play or wobble.
Excessive Tensioner Arm Movement
With the engine running, the tensioner arm should remain relatively stable — small oscillations are normal, but significant movement indicates a weak spring or bearing that's binding. A tensioner arm that bounces excessively can cause belt slap and premature belt wear.
Belt Slipping or Squealing Under Load
When the bearing seizes or the spring weakens significantly, the tensioner can no longer maintain proper belt tension. The belt starts to slip across accessories, producing a loud squeal when loads increase (A/C compressor engaging, sharp steering input).
Inspection Procedure
Visual inspection: Look for cracks, glazing, or edge wear on the serpentine belt. Inspect the tensioner pulley for cracks, wobble, or debris buildup.
Spin test (engine off): With the belt removed, spin the tensioner pulley by hand. It should rotate freely and silently. Any roughness, noise, or resistance indicates a worn bearing.
Wobble test: Try to move the tensioner pulley in and out laterally. It should be rigid — any play indicates bearing wear.
Belt tension check: Use a belt tension gauge to verify tension is within specification. An excessively loose belt with a fully-extended tensioner arm indicates the tensioner spring has fatigued.
Replacement Options
When a tensioner pulley bearing fails, you have two replacement paths:
Option 1: Replace the Complete Tensioner Assembly
The most common and practical approach:
- Replace the entire tensioner arm and pulley as a unit
- Ensures the spring and arm are also in good condition
- Recommended if the vehicle has 60,000+ miles on the original tensioner
Option 2: Replace Just the Pulley Bearing
If the tensioner arm and spring are in good condition, and only the pulley bearing is worn:
- Press out the old bearing from the pulley
- Install new bearing
- Reinstall the pulley on the tensioner arm
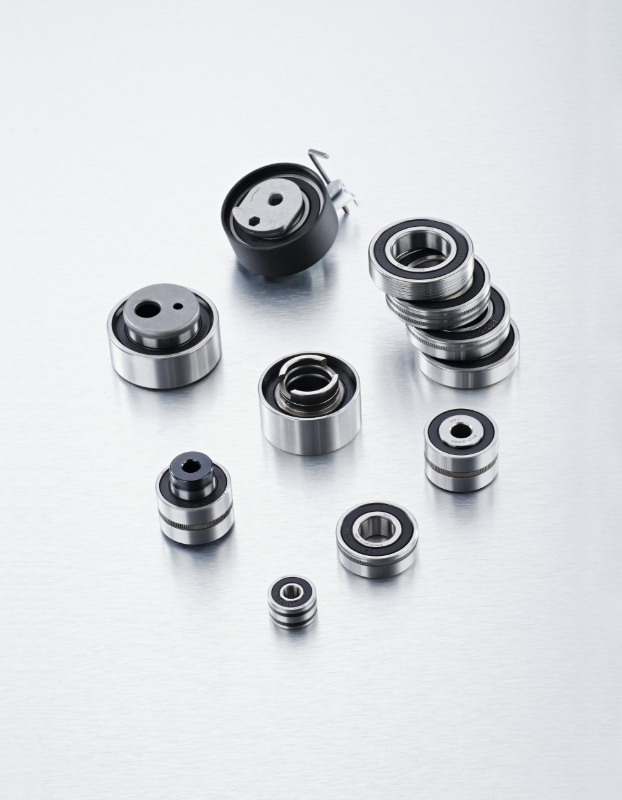
This requires identifying the exact bearing size (measure ID/OD/width) and a bearing press for installation. Common tensioner pulley bearings include 6202, 6203, 6302, and 6303 deep groove ball bearings.
What's Inside a Tensioner Pulley: The Bearing Specification
For those sourcing replacement bearings for tensioner pulley reconditioning:
| Specification | Typical Value |
|---|---|
| Type | Deep groove ball bearing (single or double row) |
| Seal | 2RS (rubber contact seal) or ZZ (metal shield) |
| Noise grade | Z3V3 or better |
| Temperature range | -40°C to +130°C |
| Grease | High-temperature synthetic |
| Common sizes | 6202, 6203, 6302, 6303, 6004, 6204 |
The noise grade is particularly important for tensioner applications — an incorrect-grade bearing will produce audible noise at idle, even when new.
Replacement Procedure Overview
- Relieve belt tension: Use a breaker bar or ratchet on the tensioner's square or hex drive to rotate the arm against spring pressure, then slip the belt off the tensioner pulley.
- Remove the belt: Slip the serpentine belt off the remaining pulleys (or remove it completely if you're also replacing the belt).
- Remove the tensioner assembly: One center bolt typically holds the tensioner to the engine block or front cover. Remove it and the tensioner comes free.
- Install new tensioner: Bolt the new assembly in place, torque to specification (typically 40–55 Nm).
- Route and reinstall the belt: Use the belt routing diagram (usually on a sticker in the engine bay) to route the new or existing belt correctly.
- Release tension: Release the tensioner arm to apply pressure to the belt, verifying correct seating across all pulleys.
- Test run: Start the engine and listen for any unusual noise. Verify the belt tracks straight on all pulleys.
Service Interval Recommendation
Most manufacturers recommend inspecting the tensioner pulley at every belt service interval (typically 60,000–100,000 miles) and replacing it proactively if:
- The bearing shows any roughness when spun by hand
- The spring tension feels weak compared to a new unit
- The vehicle has 100,000+ miles on the original tensioner
Replacing the tensioner at the same time as the belt adds minimal cost but ensures the new belt runs on a fresh, properly-tensioned assembly.
Sourcing Tensioner Pulley Bearings from OTT
OTT Bearing manufactures the deep groove ball bearings used inside tensioner pulleys for automotive OEM and aftermarket applications. Our tensioner pulley bearings feature:
- C-A (Carbonitriding) heat treatment: 5–10× longer fatigue life than standard bearings
- Z3V3 noise grade: Ensures silent operation at high RPM
- High-temperature synthetic grease: Rated to 130°C continuous operation
- 2RS seals: Full contact rubber seals for maximum contamination resistance
For tensioner pulley manufacturers, rebuilders, or aftermarket distributors sourcing bearing components in volume, contact us for pricing and cross-reference documentation.