An idler pulley is the simplest component in the serpentine belt system — it has no spring, no adjustment mechanism, and no moving parts except a single bearing. But when that bearing fails, the results cascade: belt squeal, belt damage, and eventually a thrown belt that shuts down the alternator, water pump, and power steering simultaneously. This guide covers what idler pulleys do, how their bearings fail, and why many professional repair shops are switching from replacing complete pulleys to replacing just the bearing inside — at a fraction of the cost.
What an Idler Pulley Does
The serpentine belt must wrap around multiple pulleys — alternator, water pump, A/C compressor, power steering pump, and crankshaft. The belt path does not naturally form a straight line between all of these, so idler pulleys redirect the belt around corners to ensure proper wrap angle on each driven pulley.
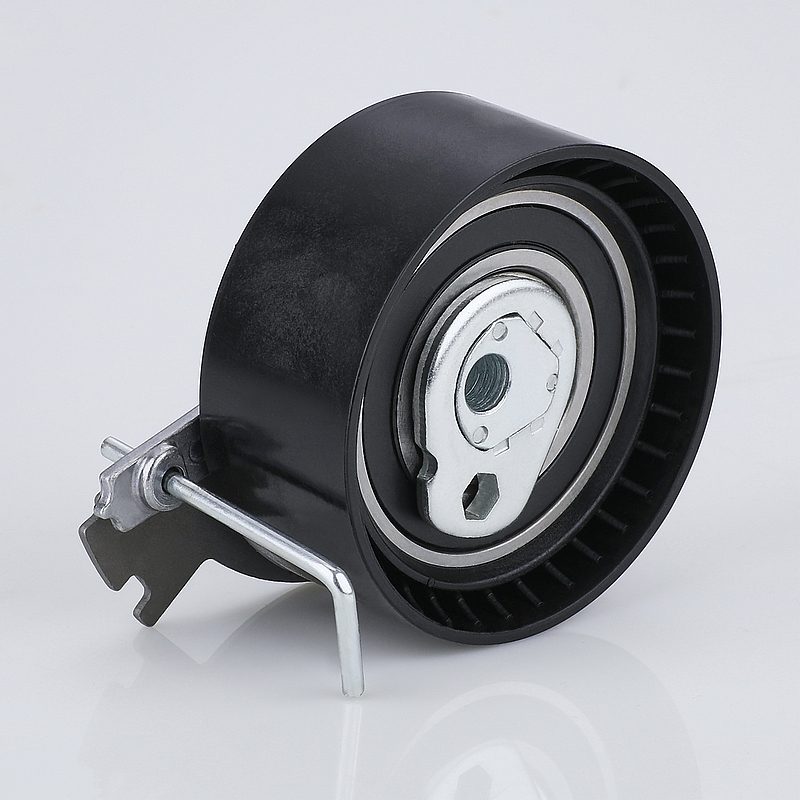
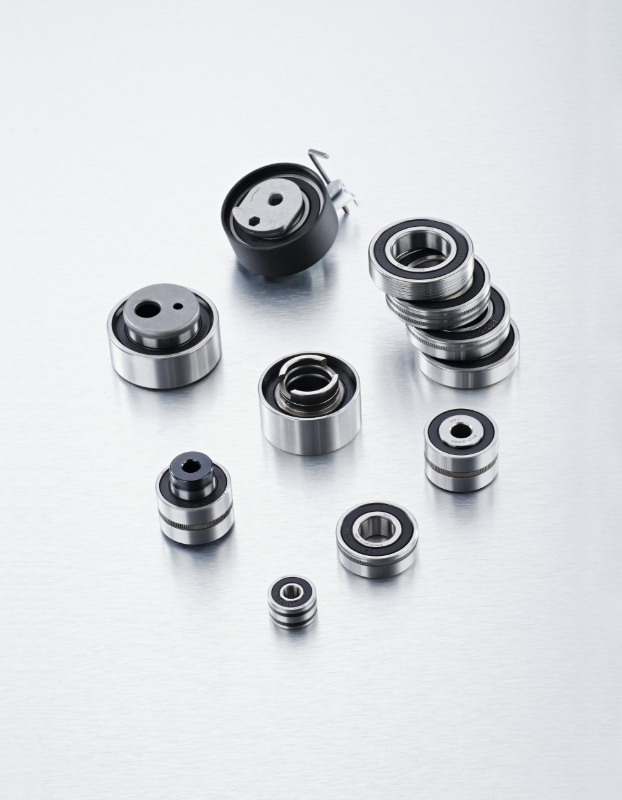
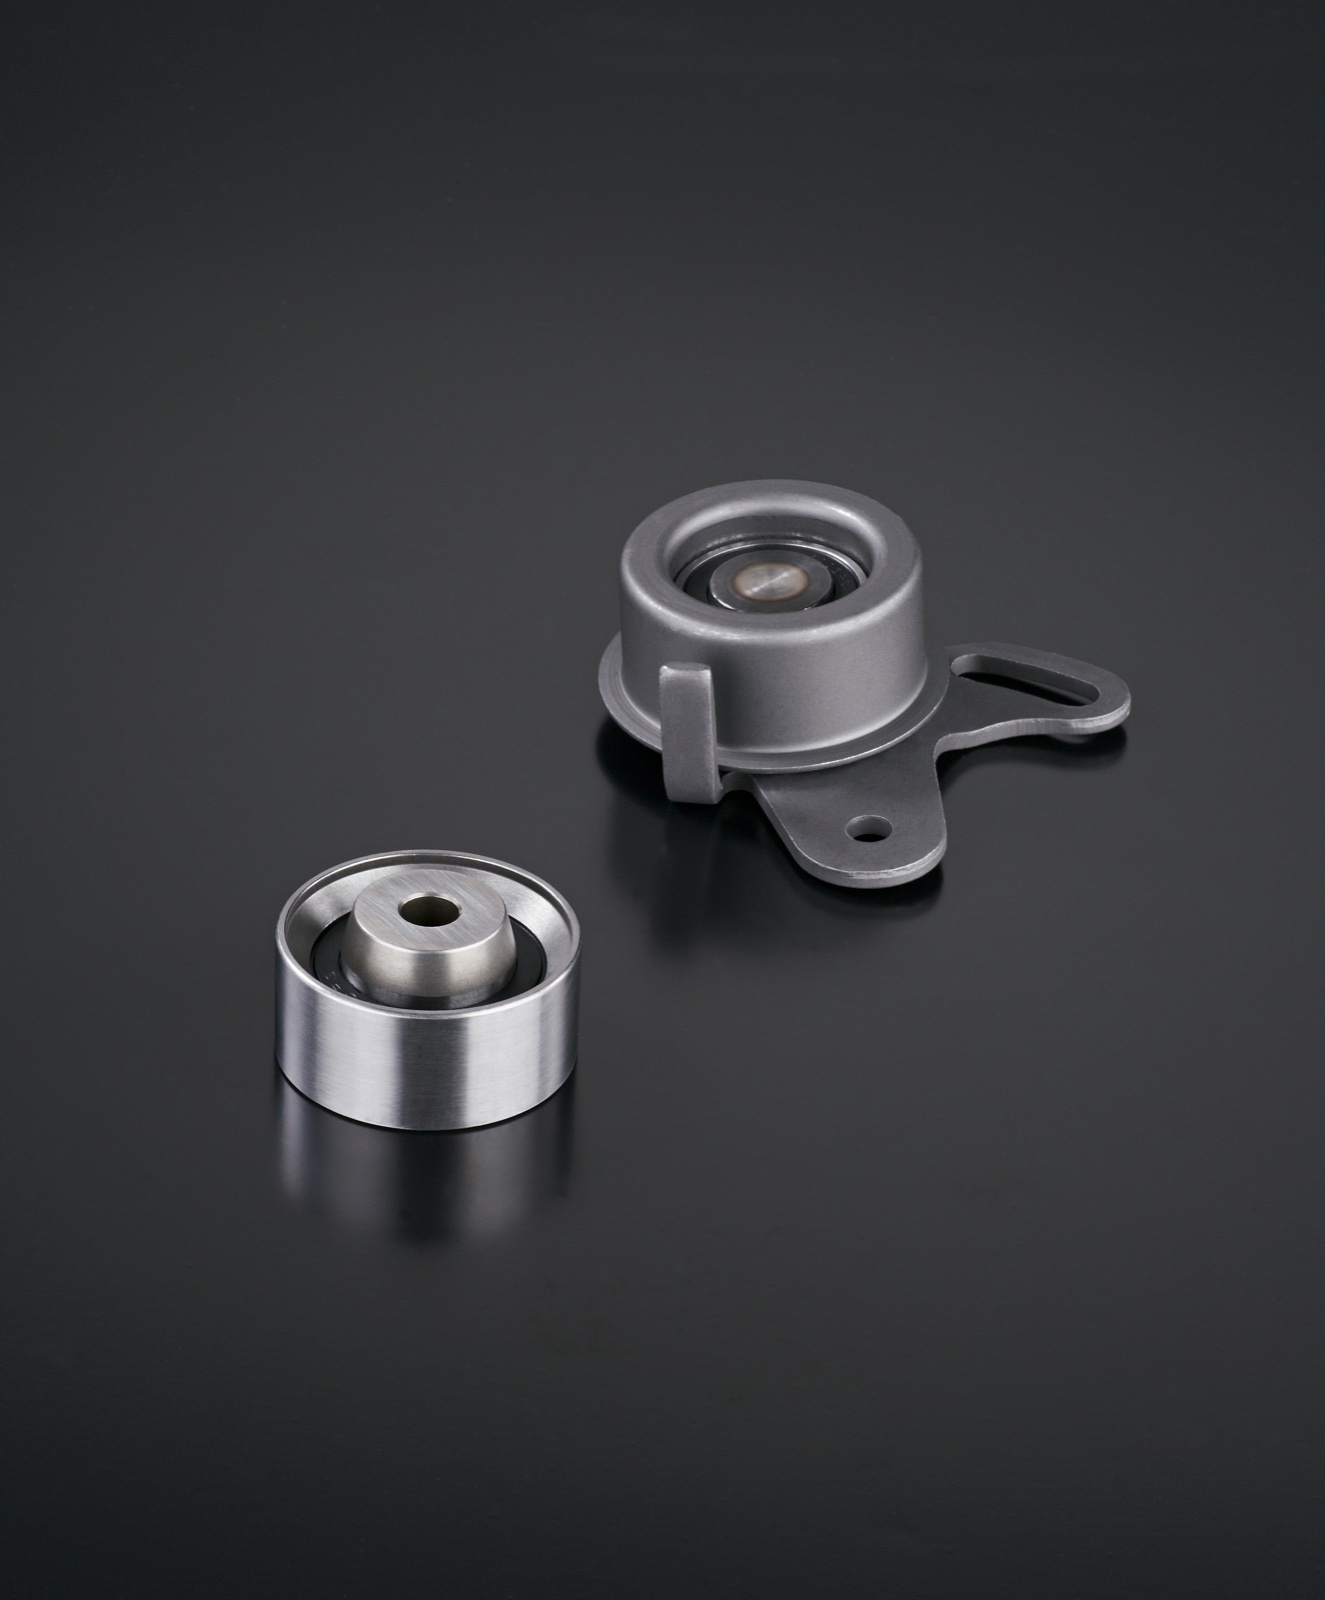
An idler pulley consists of only two parts: a steel or aluminum pulley wheel and a pressed-in deep groove ball bearing. The bearing mounts on a fixed bolt attached to the engine, and the pulley spins around it. There is no spring tension (that is the tensioner's job), no adjustment, and no clutch mechanism.
Despite this simplicity, the idler pulley bearing spins at 800-1,000 RPM for every minute the engine runs. Over 100,000 miles of driving, this adds up to billions of revolutions — and every bearing has a finite fatigue life.
Idler Pulley vs Tensioner Pulley: Key Difference
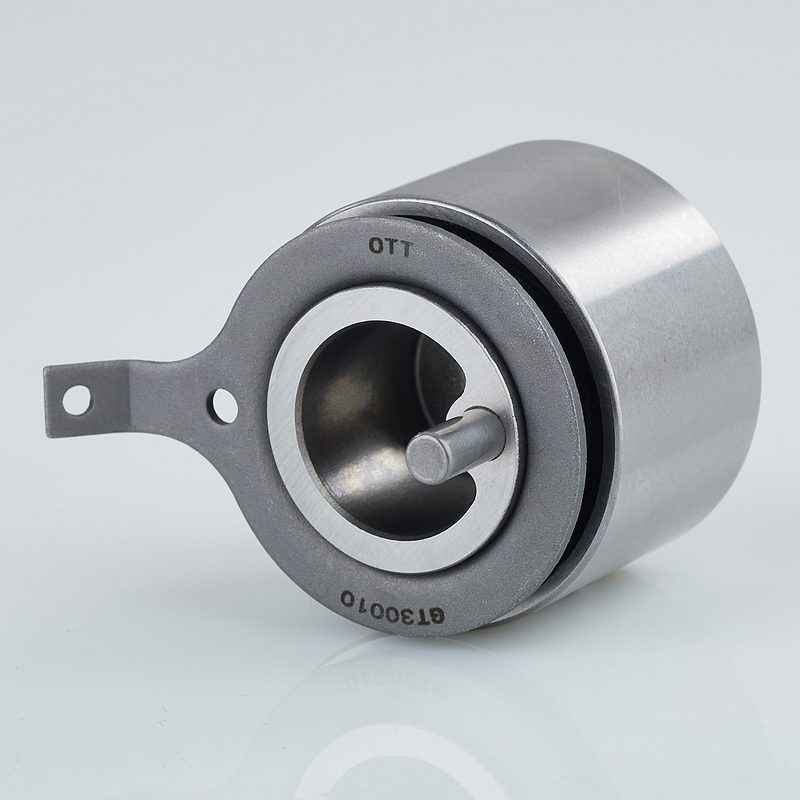
These two pulleys look similar from the outside but serve different functions:
| Feature | Idler Pulley | Tensioner Pulley |
|---|---|---|
| Purpose | Redirects belt path | Maintains belt tension |
| Has spring? | No — fixed position | Yes — spring-loaded arm |
| Bearing load | Belt wrap force only | Belt wrap + spring force |
| Mounting | Single bolt, fixed | Pivot arm, adjustable |
| Replacement cost | $15-$40 (pulley) or $3-$10 (bearing only) | $30-$80 (complete assembly) |
From a bearing perspective, idler pulley bearings typically face lower loads than tensioner bearings because they lack the spring preload. However, they spin at the same speed and face the same temperature and contamination challenges.
4 Signs of a Bad Idler Pulley Bearing
1. Squealing or Chirping Noise
The most obvious symptom. As the bearing raceways wear, the pulley loses its smooth spin and begins to vibrate against the belt, producing a high-pitched squeal or chirp. The noise is often worst at idle and may disappear at higher RPM when belt speed increases.
Diagnostic tip: If the squeal persists after replacing the serpentine belt, the idler or tensioner bearing is the cause — not the belt.
2. Grinding Sound When Spinning by Hand
Remove the serpentine belt and spin each pulley individually. A healthy bearing produces a smooth, quiet spin that gradually slows to a stop. A failing bearing feels gritty, rough, or catches during rotation. Some bearings produce an audible grinding or clicking sound.
3. Visible Pulley Wobble
Look at the idler pulley face while spinning it. Any visible wobble or runout means the bearing has developed excessive internal clearance. Wobble causes the belt to track unevenly, leading to edge wear and eventual belt failure.
4. Belt Surface Damage
A wobbling or rough-spinning idler pulley damages the belt surface that contacts it. Look for shiny glazing on the belt back surface (where it contacts the idler), rubber dust on and around the pulley, or edge fraying on the belt. These signs point to a bearing that is no longer holding the pulley true.
Replace the Whole Pulley or Just the Bearing?
This is where cost-conscious repair shops can save significant money — especially on high-volume work.
Option A: Replace the complete idler pulley ($15-$40 per pulley). This is the standard approach and the fastest — unbolt the old pulley, bolt on the new one. Takes 5-10 minutes.
Option B: Replace just the bearing ($3-$10 per bearing). The old bearing is pressed or driven out of the pulley, and a new bearing is pressed in. This requires a bench vise or press and takes 15-20 minutes per pulley — but saves $10-$30 per pulley.
For a shop doing 10+ belt jobs per week, the bearing-only approach saves $500-$1,500 per month in parts cost. This is why many professional shops and fleet operations source bare idler pulley bearings directly from manufacturers like OTT.
Common Idler Pulley Bearing Sizes
| Bearing | Dimensions | Typical Vehicles |
|---|---|---|
| 6202-2RS | 15 x 35 x 11 mm | Compact cars (Honda, Toyota) |
| 6203-2RS | 17 x 40 x 12 mm | Mid-size sedans, SUVs |
| 6006-2RS | 30 x 55 x 13 mm | Full-size, trucks, European |
| 6008-2RS | 40 x 68 x 15 mm | Heavy-duty, diesel trucks |
OTT supplies all of these bearings in automotive-grade specifications with double-lip seals, high-temperature grease, and P6 precision. View the full range: Tensioner & Idler Pulley Bearings
When to Replace Idler Pulley Bearings
Replace preventively with every serpentine belt change — typically every 60,000-100,000 miles. The bearing has been spinning for the same mileage as the belt and will likely fail before the next belt service interval.
Replace immediately if any of the 4 symptoms above are present. A failed idler bearing can throw the belt off, which stops the water pump and causes rapid engine overheating — potential engine damage within minutes.
Best practice for fleets and shops: Replace belt + tensioner + all idler pulleys as a kit. This eliminates return visits for bearing failures and gives the customer a complete refresh of the belt system.
Step-by-Step: Idler Pulley Bearing Replacement
The following guide covers both approaches — replacing the complete pulley assembly (faster, no press needed) and replacing just the bearing inside (lower cost per repair, ideal for high-volume shops and distributors).
Tools Required
- Ratchet and socket set (10–15mm)
- Serpentine belt tool or 3/8" breaker bar
- Rubber mallet + bearing press kit (for bearing-only replacement)
- Socket matching bearing outer diameter (for pressing)
- Torque wrench
- Phone or camera (for belt routing photo before disassembly)
Option 1: Replace the Complete Pulley Assembly (15–20 minutes)
Step 1 — Photograph the belt routing. Before touching anything, photograph the serpentine belt path around every pulley. Misrouting the belt is the most common post-repair mistake — it looks fine but overloads bearings and causes rapid failure.
Step 2 — Release belt tension. Insert a serpentine belt tool or breaker bar into the tensioner arm's square drive socket. Rotate to relieve spring tension and slide the belt off the tensioner pulley. With the belt slack, carefully route it off the idler pulley.
Step 3 — Remove the idler bolt. The idler pulley is held by a single center bolt (typically 10–15mm). Important: some idler pulley bolts use reverse threading — they tighten counterclockwise. If the bolt won't budge normally, check the service manual before forcing it.
Step 4 — Install the new pulley. Thread the center bolt in by hand first, then torque to specification (typically 25–45 Nm depending on application). Over-torquing the bolt collapses internal bearing clearance and causes premature failure.
Step 5 — Re-route and verify. Follow the belt routing photo from Step 1 exactly. Start the engine and confirm the belt tracks centered on each pulley face with no squealing.
Option 2: Replace Just the Bearing Inside the Pulley (for shops and fleets)
Step 1 — Remove the pulley as described in Option 1, Steps 1–3.
Step 2 — Identify the bearing size. Look for the bearing part number stamped on the outer race. If worn smooth, measure bore ID, outer diameter, and width with a vernier caliper. Reference chart:
| Bearing No. | Dimensions (ID×OD×W) | Common Application |
|---|---|---|
| 6202-2RS | 15 × 35 × 11 mm | Honda, Toyota compact cars |
| 6203-2RS | 17 × 40 × 12 mm | Mid-size sedans, crossovers |
| 6006-2RS | 30 × 55 × 13 mm | Full-size vehicles, European |
| 6008-2RS | 40 × 68 × 15 mm | Diesel trucks, heavy-duty apps |
Step 3 — Press out the old bearing. Support the pulley face-down over a gap (two stacked sockets of the right height work well). Use a socket slightly smaller than the bearing OD and drive it out from the back with a mallet or hydraulic press.
Step 4 — Clean the bearing bore. Wipe the bore clean of old grease and debris. Inspect the bore wall for cracks or deformation — if the bore is damaged or out-of-round, replace the entire pulley instead.
Step 5 — Press in the new bearing. Apply a thin smear of bearing grease to the bore. Place the new bearing squarely over the bore opening. Using a socket that contacts only the outer race, press the bearing in until it seats flush. Never press on the inner race — this forces load through the balls and permanently damages the raceways.
Step 6 — Reinstall and verify as in Option 1, Steps 4–5.
Replacement Cost Comparison
| Approach | Parts Cost | Time | Best For |
|---|---|---|---|
| Replace complete pulley | $15–$40 per pulley | 15–20 min | One-off repairs, DIY mechanics |
| Replace bearing only | $3–$10 per bearing | 20–30 min | High-volume shops, fleet ops |
For shops doing 10+ belt jobs per week, the bearing-only approach saves $500–$1,500/month in parts cost. OTT supplies automotive-grade 6202, 6203, 6006, 6007, and 6008 bearings with double-lip seals and high-temperature grease directly from the factory. View the full range: Tensioner & Idler Pulley Bearings
3 Common Mistakes to Avoid
- Pressing on the inner race — always press on the outer race only; inner-race installation destroys the bearing before the car leaves the shop
- Skipping the belt routing photo — a misrouted belt looks fine but will throw itself off or snap within days
- Not replacing the belt simultaneously — a worn belt glazes the new bearing surface within 2,000 miles
Related Guides
- Belt Tensioner Bearing Guide — the spring-loaded counterpart to idler pulleys
- Tensioner Pulley Replacement Guide — spring tensioner failure symptoms and replacement
- Tensioner & Idler Bearing Catalog — full OTT 80+ model range, factory direct
- Car Engine Applications — all engine bearing types explained
- Alternator Bearing Guide — another critical engine bay bearing