Replacing an A/C compressor clutch bearing is one of the most cost-effective automotive repairs you can make — a $20 bearing saves you from a $500 compressor replacement. Yet most guides online skip the details that matter: which bearing size fits your compressor, how to press it out without damaging the clutch, and what separates a bearing that lasts 100,000 miles from one that fails in a single summer.
This guide covers the complete replacement procedure from a bearing manufacturer's perspective, including a size cross-reference table by compressor brand, the critical steps most DIY guides miss, and how to choose a replacement bearing that will actually last.
Quick Answer: When to Replace the Clutch Bearing
Replace the A/C clutch bearing when you hear grinding or squealing from the compressor area with the A/C turned off. This is the key diagnostic clue — the clutch pulley spins with the engine at all times via the serpentine belt, so bearing noise persists regardless of the A/C setting. If the noise only occurs with A/C on, the compressor internals are the problem, not the bearing.
Other replacement triggers: visible pulley wobble, intermittent cooling (cold air then warm then cold), and a chirping noise at engine idle that increases with RPM.
For a detailed breakdown of all failure symptoms, see our A/C Compressor Clutch Bearing Symptoms & Sizes Guide.
Tools and Parts You Will Need
Before starting, gather everything. Stopping mid-job to find a tool wastes time and risks dropping small parts into the engine bay.
Essential tools:
- Socket set (8mm, 10mm, 12mm, 14mm)
- Center bolt socket (typically 8mm hex or 10mm hex, depending on compressor)
- Snap ring pliers (external type)
- Bearing removal tool — either a bearing puller, an arbor press, or a socket/tube that matches the bearing outer diameter
- Bearing installation tool — a socket or tube that contacts only the outer race of the new bearing
- Torque wrench
Helpful but optional:
- Clutch plate puller (makes removal easier on tight-fitting plates)
- Thread-locking compound (medium strength, for the center bolt)
- Caliper or micrometer (to verify bearing dimensions before installation)
- Penetrating oil (for corroded snap rings)
Parts:
- Replacement clutch bearing (correct size — see the cross-reference table below)
- New snap ring (reuse the old one only if it is not deformed)
Step-by-Step Replacement Procedure
This procedure covers in-vehicle replacement — the compressor stays bolted to the engine. On most vehicles, the clutch assembly is accessible from the front without disconnecting refrigerant lines, which eliminates the need for an A/C evacuation and recharge ($100-$200 saved).
Step 1: Access the Compressor Clutch
Locate the A/C compressor — typically at the bottom-front of the engine, driven by the serpentine belt. On some vehicles you may need to remove a splash shield or wheel well liner for access. Do not disconnect any refrigerant lines.
Remove the serpentine belt from the compressor pulley. On most modern vehicles, this means releasing the automatic belt tensioner with a wrench and slipping the belt off the A/C pulley only (you can leave it on all other pulleys).
Step 2: Remove the Clutch Plate
The clutch plate is the front-most disc on the compressor, secured by a center bolt. Remove this bolt (usually 8mm hex or 10mm hex). The bolt may be tight — use a breaker bar if needed, and hold the clutch plate from spinning with a strap wrench or by wedging a screwdriver through one of the clutch plate holes.
Once the bolt is removed, the clutch plate should pull off the compressor shaft. If it is stuck, use a clutch plate puller tool or thread two small bolts into the jacking holes on the clutch plate face and tighten them evenly to push the plate off the shaft.
Critical: Note the number and position of shims behind the clutch plate. These shims set the air gap between the clutch plate and the pulley (typically 0.4-0.8mm). You must reinstall them in the same order. Tape them together or photograph the stack.
Step 3: Remove the Pulley and Bearing Assembly
Behind the clutch plate you will see a snap ring holding the pulley/bearing assembly onto the compressor nose. Use external snap ring pliers to remove this ring. If the snap ring is corroded, apply penetrating oil and wait 10 minutes before attempting removal.
With the snap ring removed, the pulley and bearing assembly slides off the compressor nose. If it is stuck, gentle tapping with a rubber mallet on the back of the pulley (from the engine side) will free it. Never strike the compressor shaft.
Step 4: Press Out the Old Bearing
The bearing is press-fit into the center of the pulley. To remove it, you need to press or drive it out from one side.
Using a press (preferred): Support the pulley on a flat surface with the bearing hanging over a hole large enough for the bearing to pass through. Press on the bearing inner race with a rod or socket until the bearing drops out.
Without a press: Place the pulley on a vice with the jaws supporting the pulley rim, then use a socket that matches the bearing inner diameter and tap it through with a hammer. Work evenly — striking one side repeatedly will cock the bearing and jam it.
Important: Note which direction the bearing faces in the pulley. Most A/C clutch bearings have a sealed side and a shielded side, and the sealed side faces outward (toward the clutch plate).
Step 5: Inspect the Pulley Bore
Before installing the new bearing, inspect the bore of the pulley:
- Scoring or gouging in the bore means the old bearing was spinning inside the housing ("creep"). Light scoring can be cleaned up with emery cloth. Deep scoring means the pulley should be replaced — a new bearing will not fit tightly in a damaged bore.
- Rust in the bore should be cleaned with a wire brush and emery cloth until the surface is smooth and shiny.
- Measure the bore diameter with calipers if possible. It should match the new bearing's outer diameter within 0.01-0.02mm (interference fit).
Step 6: Press In the New Bearing
This is the step where most bearing damage occurs. The rules are simple but critical:
Press on the outer race only. Use a socket or tube that contacts the outer ring of the bearing — never press on the inner race, the balls, or the seals. Pressing on the inner race forces the load through the balls and raceways, creating flat spots (brinelling) before the bearing even runs.
Press straight and square. Start the bearing into the bore by hand to make sure it enters straight. Then press evenly until the bearing seats flush with the pulley surface. If the bearing cocks to one side, tap it back out and restart — forcing a cocked bearing will damage both the bearing and the bore.
Do not over-press. The bearing should sit flush with one face of the pulley. Pressing it further risks distorting the outer ring, which tightens the internal clearance and causes premature failure.
Step 7: Reassemble
Reinstall in reverse order:
- Slide the pulley/bearing assembly back onto the compressor nose
- Install the snap ring (make sure it seats fully in the groove)
- Place the shims on the compressor shaft in the original order
- Slide the clutch plate onto the shaft splines
- Install and torque the center bolt (typically 10-12 Nm — check your service manual)
- Reinstall the serpentine belt
Step 8: Verify the Air Gap
With everything assembled, check the air gap between the clutch plate and the pulley face using a feeler gauge. The spec is typically 0.4-0.8mm (varies by compressor). If the gap is too small, the clutch drags and overheats the bearing. If too large, the clutch slips and cooling is intermittent.
Adjust by adding or removing shims behind the clutch plate.
A/C Compressor Clutch Bearing Size Cross-Reference
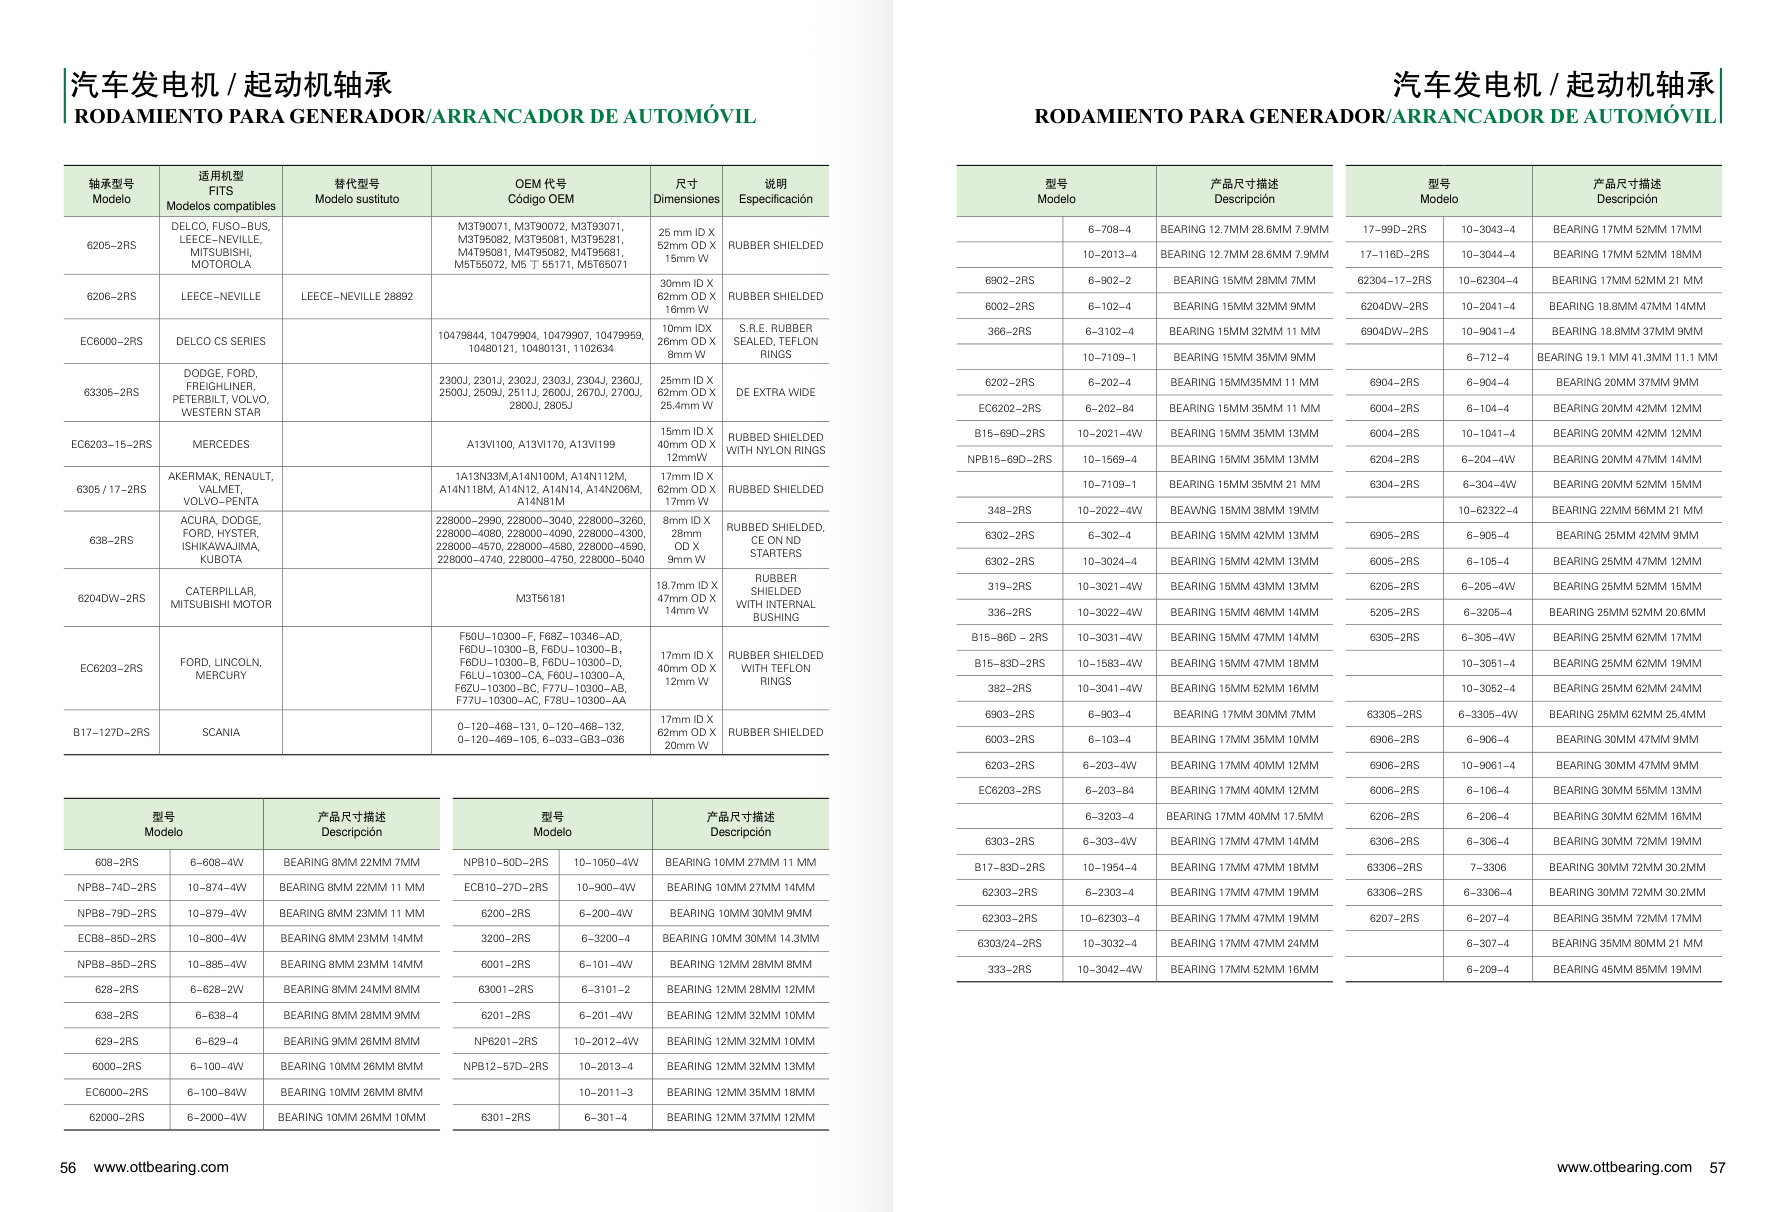
This is the table that most repair guides do not have. The bearing size depends on the compressor brand and model — not the vehicle. Use this table as a starting point, then always verify by measuring the old bearing before ordering.
| Compressor Brand | Common Series | Bearing Size (d×D×B) | OTT Model |
|---|---|---|---|
| Denso (Toyota, Honda) | 10S, 10PA, 6SE | 35×52×22 mm | 35BD5222 |
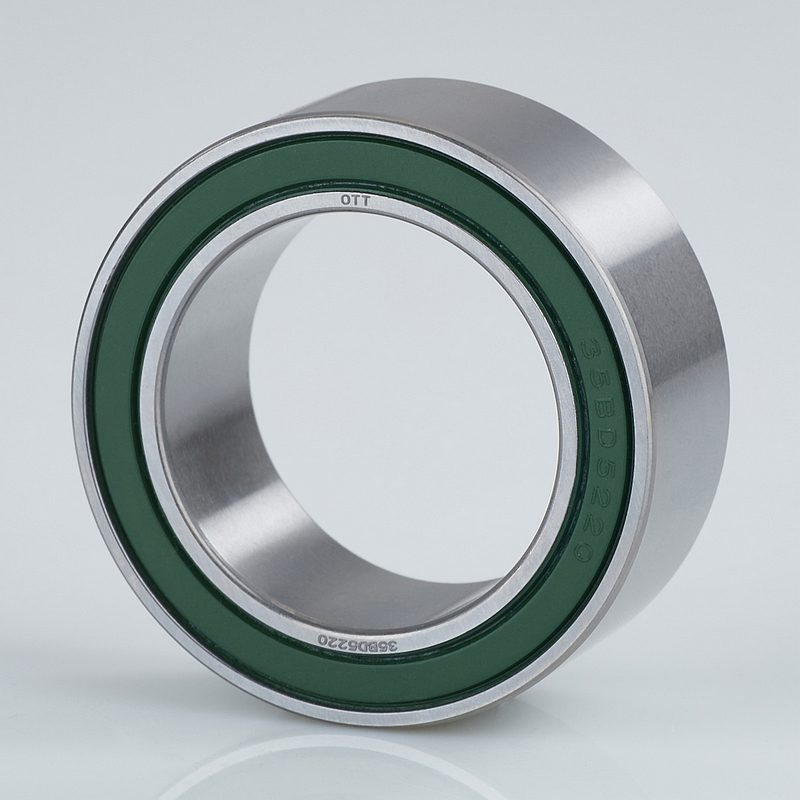
| Sanden (Subaru, Mazda) | SD507, SD508, SD709 | 35×52×20 mm | 35BD5220 |
| Delphi / Harrison (GM) | V5, HR6, HT6 | 30×52×22 mm | 30BD5222 |
| Halla / Hanon (Hyundai, Kia) | HS, VS series | 35×55×20 mm | 35BD5520 |
| ZEXEL / Valeo (Nissan, Renault) | DKV, DCS series | 30×47×18 mm | 30BD4718 |
| Calsonic (Nissan, Infiniti) | CR series | 35×55×22 mm | 35BD5522 |
| TAMA (Mitsubishi) | MSC series | 30×55×23 mm | 30BD5523 |
| Bock / GEA (Bus, Truck) | FK40, FK50 | 40×62×24 mm | 40BD6224 |
| Bitzer (Bus, Commercial) | 4N, 4P series | 40×68×30 mm | 40BD6830 |
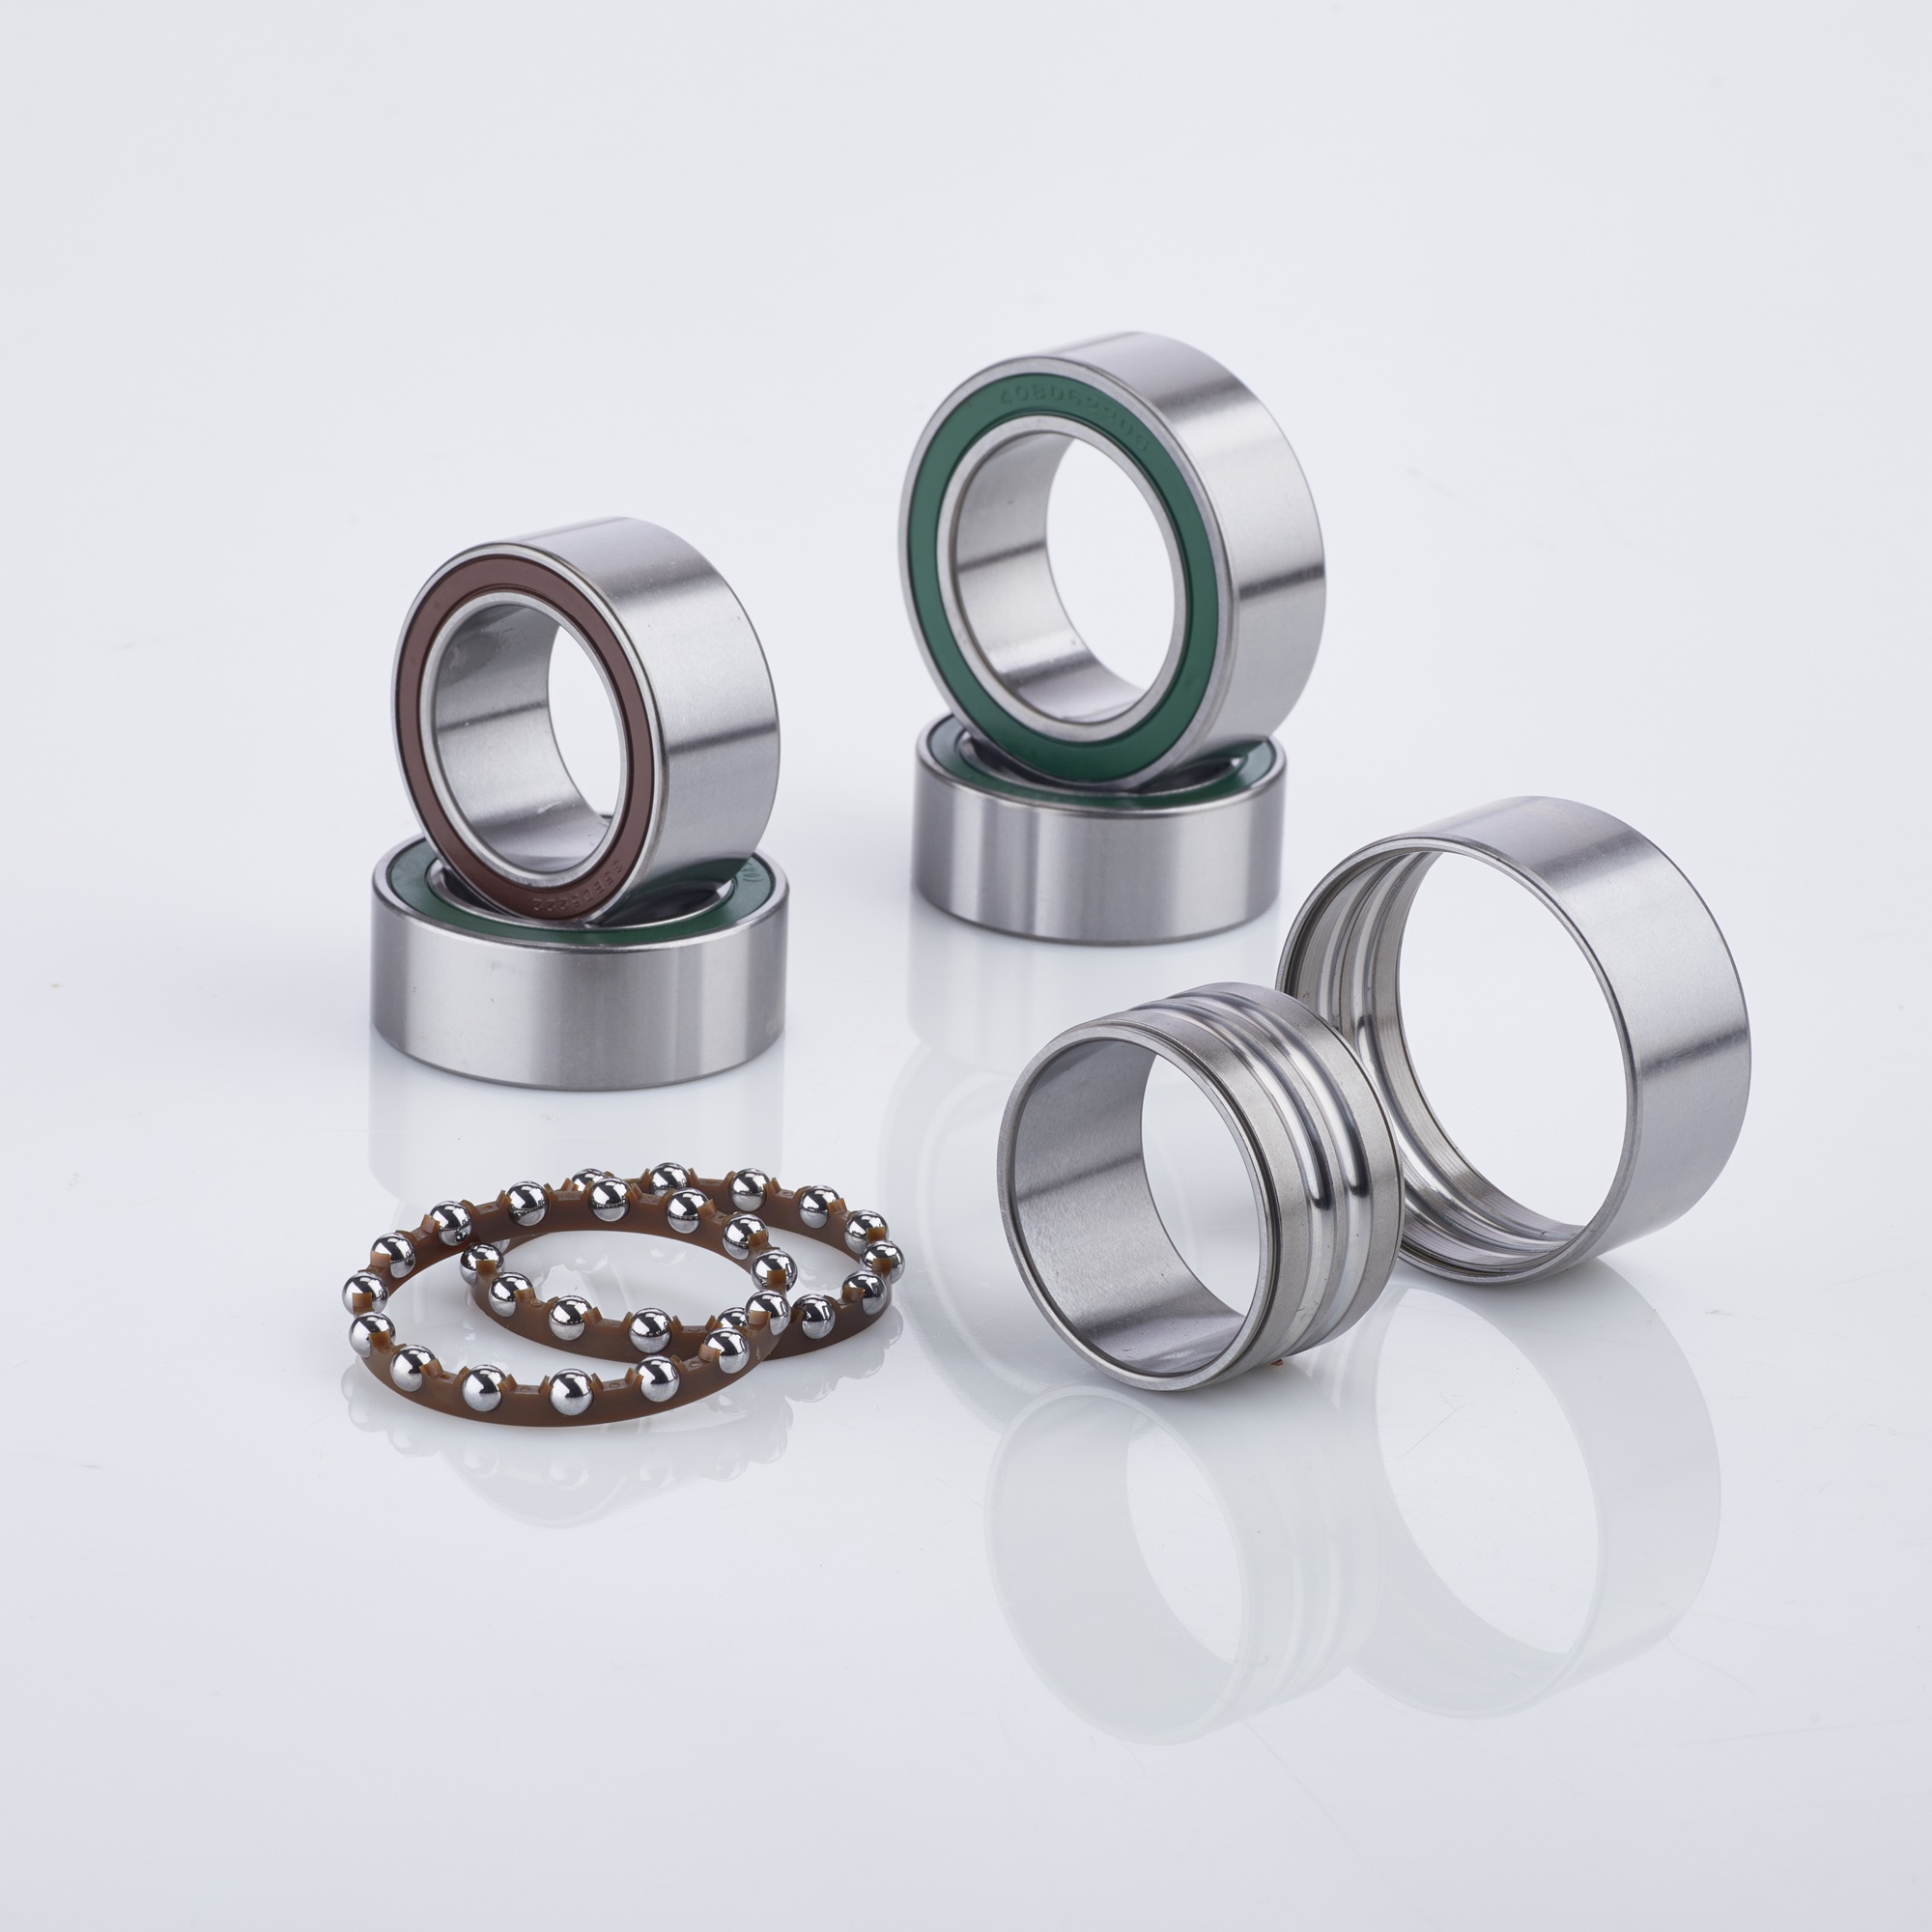
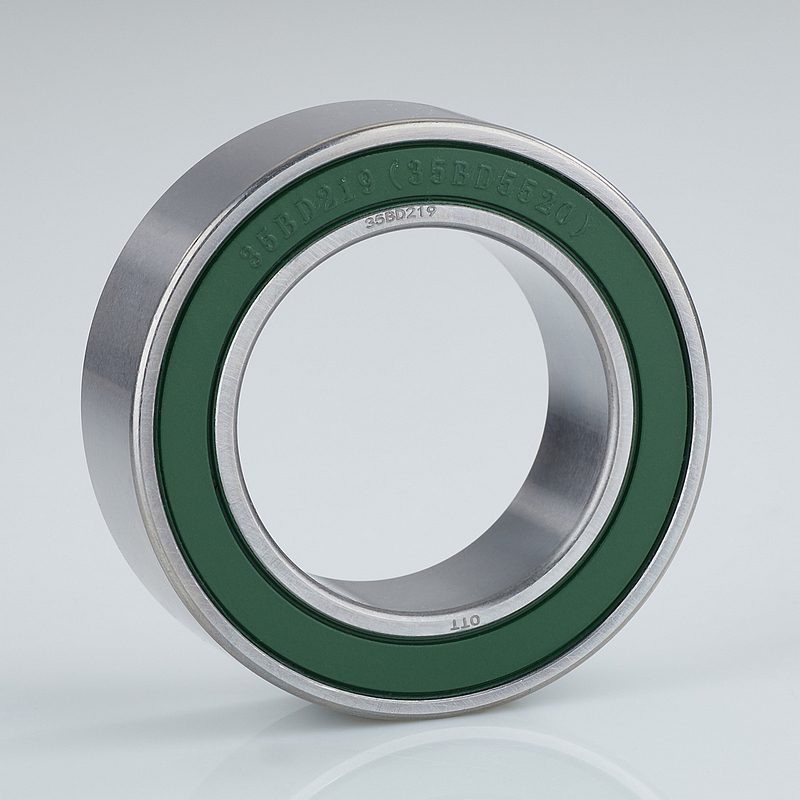
OTT manufactures all sizes listed above with ABEC-3 (P6) precision grade and Z2V2 vibration grade. Seal options include NBR, ACM, and Viton/FKM. Browse the full catalog: A/C Compressor Bearings
5 Common Mistakes That Kill New Bearings
We see these failures repeatedly in warranty returns. Each one is preventable:
1. Pressing on the inner race during installation. This is the number one cause of premature failure. The installation force travels through the balls and creates microscopic flat spots on the raceways (brinelling). The bearing may feel fine when you spin it by hand, but it will develop noise within 5,000 miles. Always press on the outer race only.
2. Reusing a deformed snap ring. A stretched or bent snap ring does not seat fully in the groove, allowing the pulley to shift axially on the compressor nose. This creates a cyclic axial load on the bearing that it was not designed to handle. New snap rings cost less than a dollar — replace it.
3. Ignoring the air gap. If you forget to reinstall the shims (or install them in the wrong order), the air gap will be incorrect. Too small = clutch drags, bearing overheats. Too large = clutch slips, intermittent cooling. Measure with a feeler gauge after assembly.
4. Using a standard deep groove bearing. A/C clutch bearings are double-row angular contact bearings — they look similar to standard bearings but have a completely different internal geometry. A standard 6205 bearing has the right dimensions to fit some clutch pulleys, but it cannot handle the axial loads from clutch engagement and will develop play within weeks.
5. Contaminating the bearing with grease or oil. A/C clutch bearings come pre-greased with refrigerant-compatible grease. Adding extra grease, or getting engine oil on the bearing during installation, can wash out or dilute the factory grease. Install with clean, dry hands and do not add lubricant.
Cost Breakdown: Bearing vs Clutch Kit vs Compressor
| Repair Option | Parts Cost | Shop Labor | A/C Recharge? | Total Cost |
|---|---|---|---|---|
| Bearing only | $15–$50 | $80–$150 | No | $95–$200 |
| Clutch kit (bearing + plate + coil) | $60–$150 | $100–$180 | No | $160–$330 |
| New compressor | $200–$600 | $150–$250 | Yes ($100–$200) | $450–$1,050 |
Replacing the bearing alone saves 70-90% compared to a new compressor — and it avoids the environmental cost and complexity of evacuating and recharging the refrigerant system.
For A/C repair shops processing multiple compressors per week, sourcing quality bearings at factory-direct pricing improves margins significantly. OTT supplies clutch bearings in all standard sizes from 15mm to 50mm bore, with an MOQ of 1,000 pieces per size. Request a quote for volume pricing.
How to Choose the Right Replacement Bearing
Step 1: Read the old bearing markings
Look for a model number stamped on the bearing side face — examples: 35BD5222, 30BD5222DUM, 35BD219. If readable, match this to the OTT catalog directly.
Step 2: Measure if markings are worn
Use calipers to measure three dimensions:
- d (bore / inner diameter)
- D (outer diameter)
- B (width / height)
Match these dimensions to the size cross-reference table above. Tolerances for A/C clutch bearings are tight — even 1mm difference in width means a different bearing model.
Step 3: Specify seal material
For passenger vehicles in temperate climates, NBR (nitrile rubber) seals are the standard and most economical choice. For hot climates, commercial vehicles, or systems using R-1234yf refrigerant, upgrade to ACM or Viton/FKM seals for better heat and chemical resistance. See the seal material comparison for details.
Step 4: Verify the source
This matters more than most people realize. A/C clutch bearings operate at 3,000-6,000 RPM in a sealed environment where failure means the entire A/C system stops working. Generic marketplace bearings with unknown heat treatment and grease formulation are the leading cause of repeat repairs.
OTT manufactures A/C compressor clutch bearings with IATF 16949 certified processes, Carbonitriding (C-A) heat treatment for 5-10x fatigue life improvement, and refrigerant-compatible PAG grease pre-filled at the factory.
In-Vehicle vs On-Bench: Which Approach?
In-vehicle replacement (compressor stays mounted):
- Faster — 1-2 hours
- No refrigerant evacuation or recharge needed
- Limited workspace, especially on vehicles with tight engine bays
- Best for: standalone bearing replacement when the compressor is otherwise healthy
On-bench replacement (compressor removed):
- More workspace, easier to press bearings squarely
- Allows inspection of compressor internals (clutch coil, shaft seal, reed valves)
- Requires A/C system evacuation and recharge ($100-$200 additional cost)
- Best for: high-mileage vehicles where you want to inspect everything, or when the compressor is already removed for other repairs
For professional shops processing compressors in volume — especially remanufacturers — on-bench with a hydraulic press is the only practical method. OTT supplies A/C clutch bearings in bulk packaging (50 or 100 pieces per box) specifically for remanufacturing operations.
Related Resources
- A/C Compressor Clutch Bearing: Symptoms & Sizes — detailed symptom diagnosis and bearing specifications
- A/C Compressor Bearings Product Page — full OTT catalog with 40+ models
- Belt Tensioner Bearing Guide — another common engine accessory bearing replacement
- Alternator Bearing Replacement Guide — similar replacement procedure for alternator bearings
- Car Engine Bearing Applications — all engine bearing types and applications
- About OTT Bearing: Factory & Certifications — IATF 16949, Carbonitriding technology, and endurance testing